Putnam Lab Physiology Airbrushing Protocol
Airbrushing Coral Homogenate for Physiological Analyses
This protocol was adapted from the protocol written by Hollie Putnam (and here) for the Putnam Lab and collaborators in the E5 project with adjustments and images from Emma Strand and Jill Ashey.
Contents
- Materials
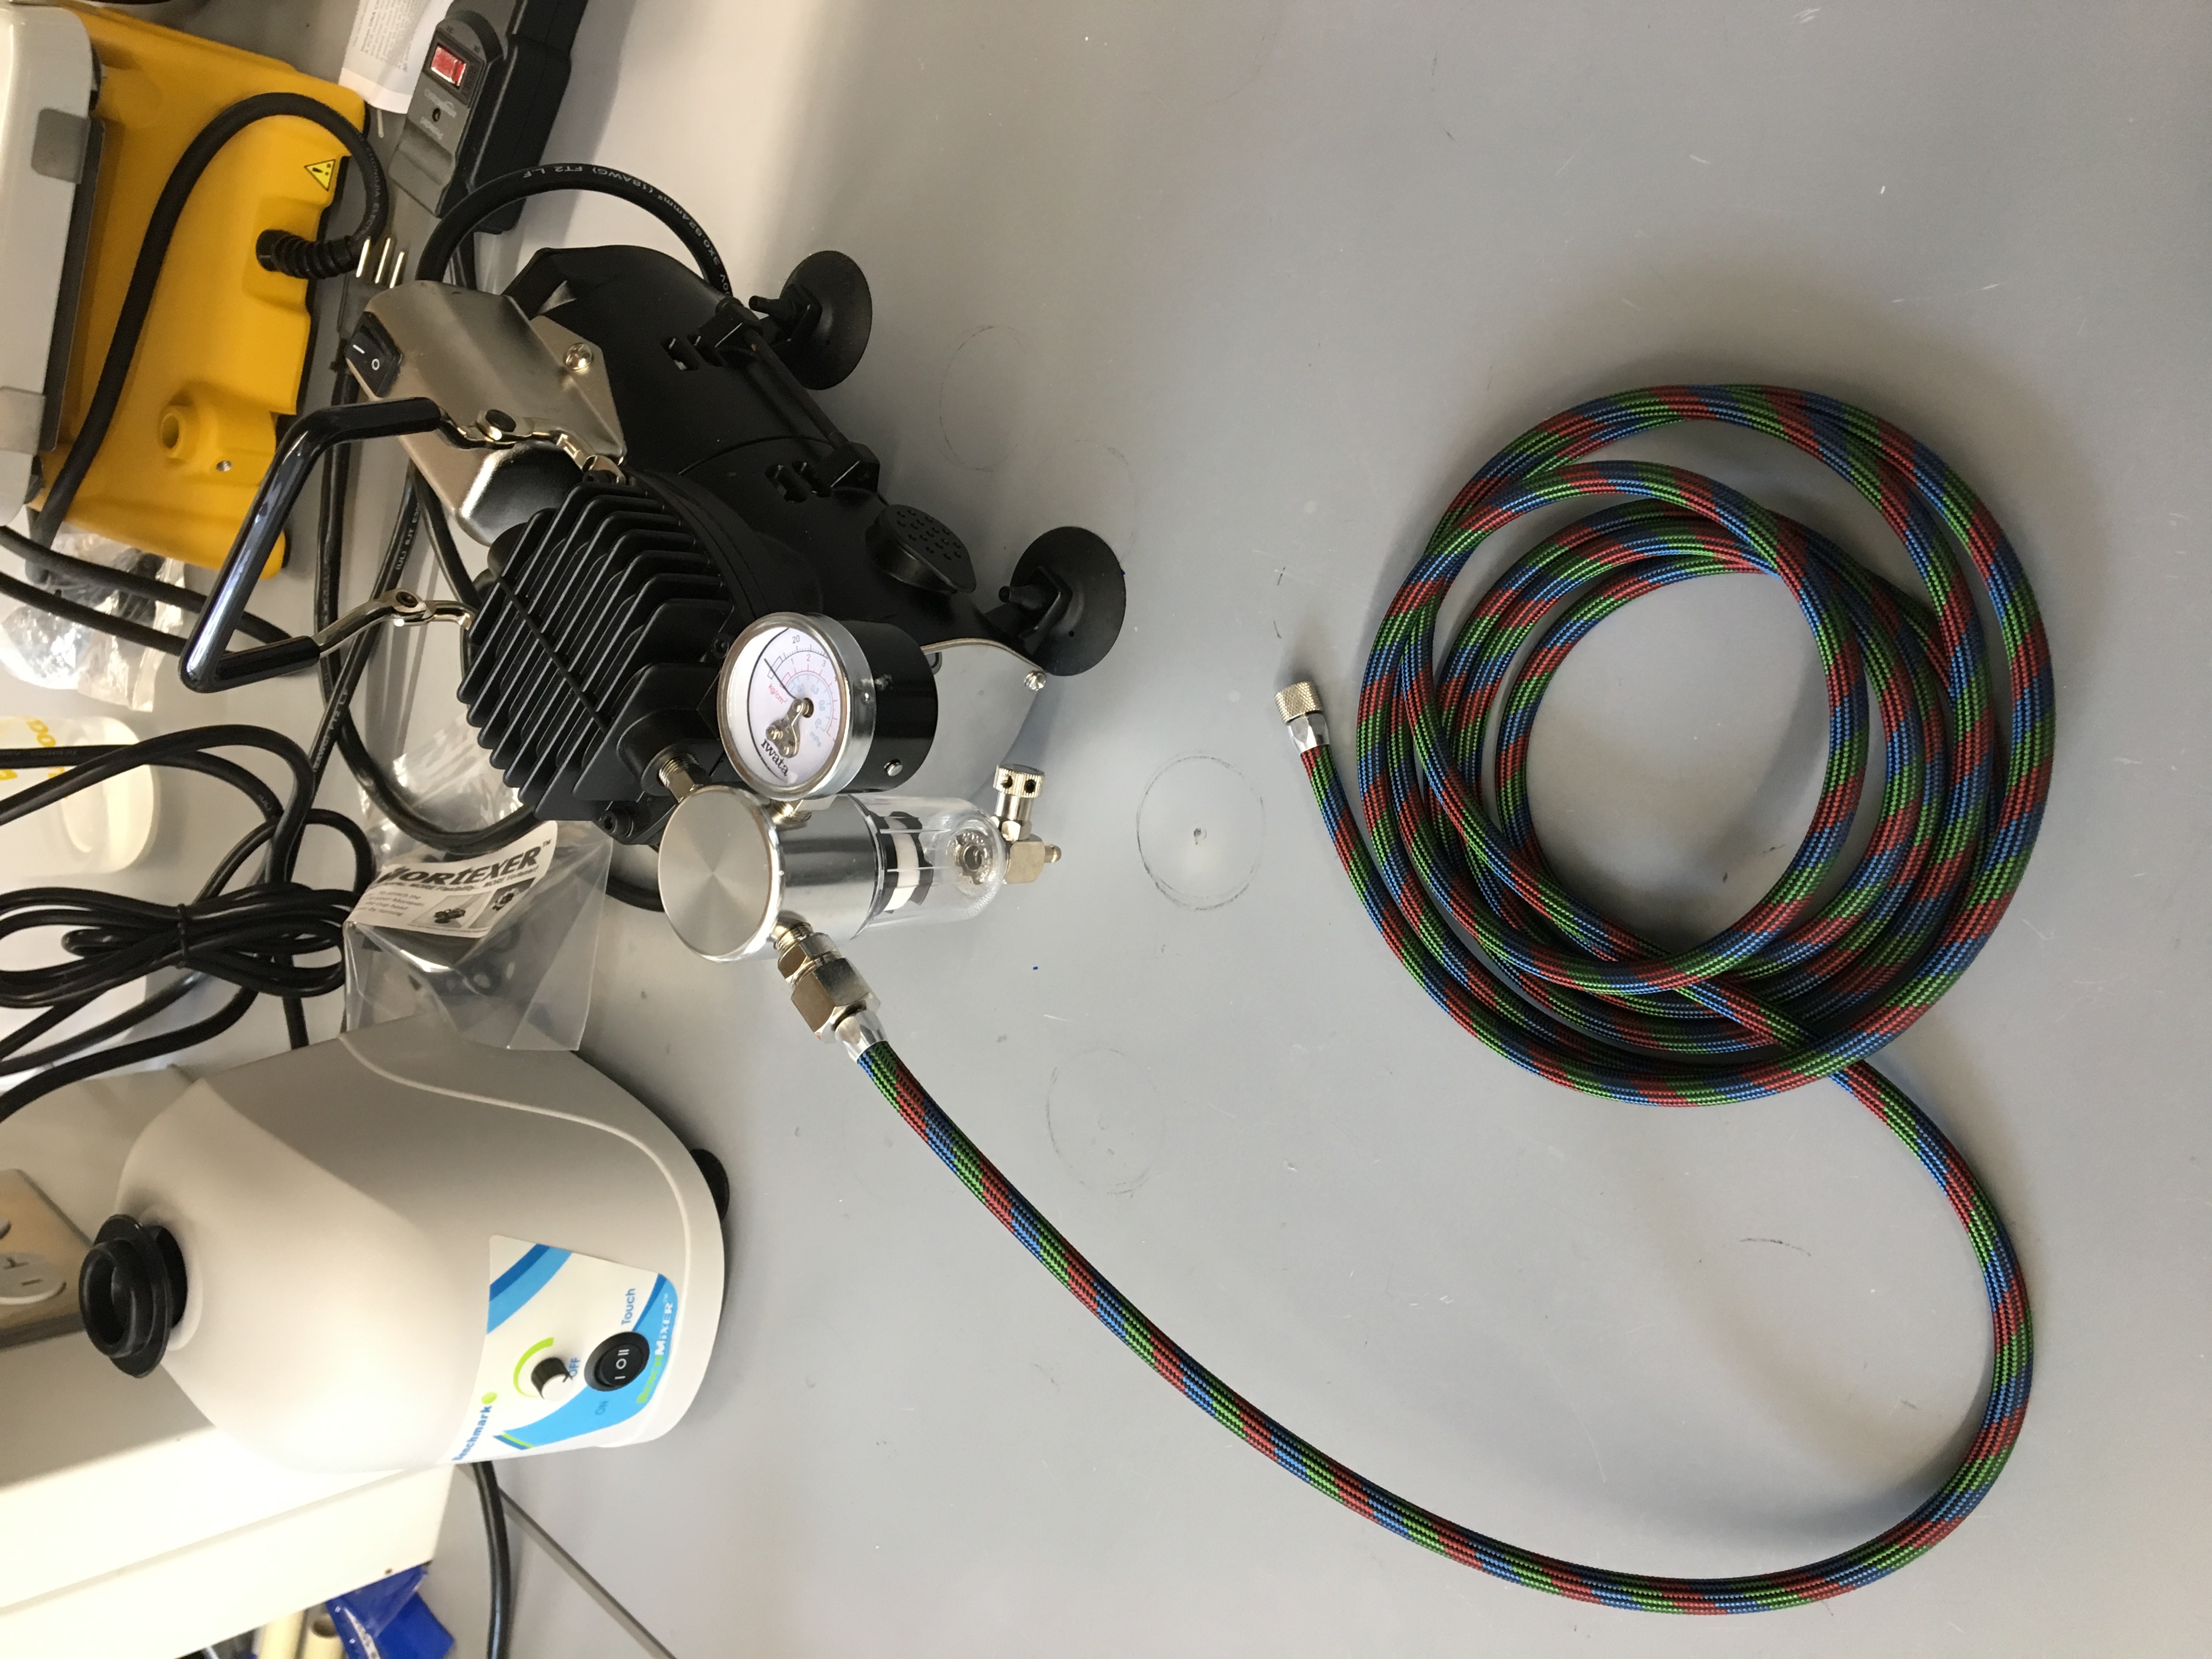
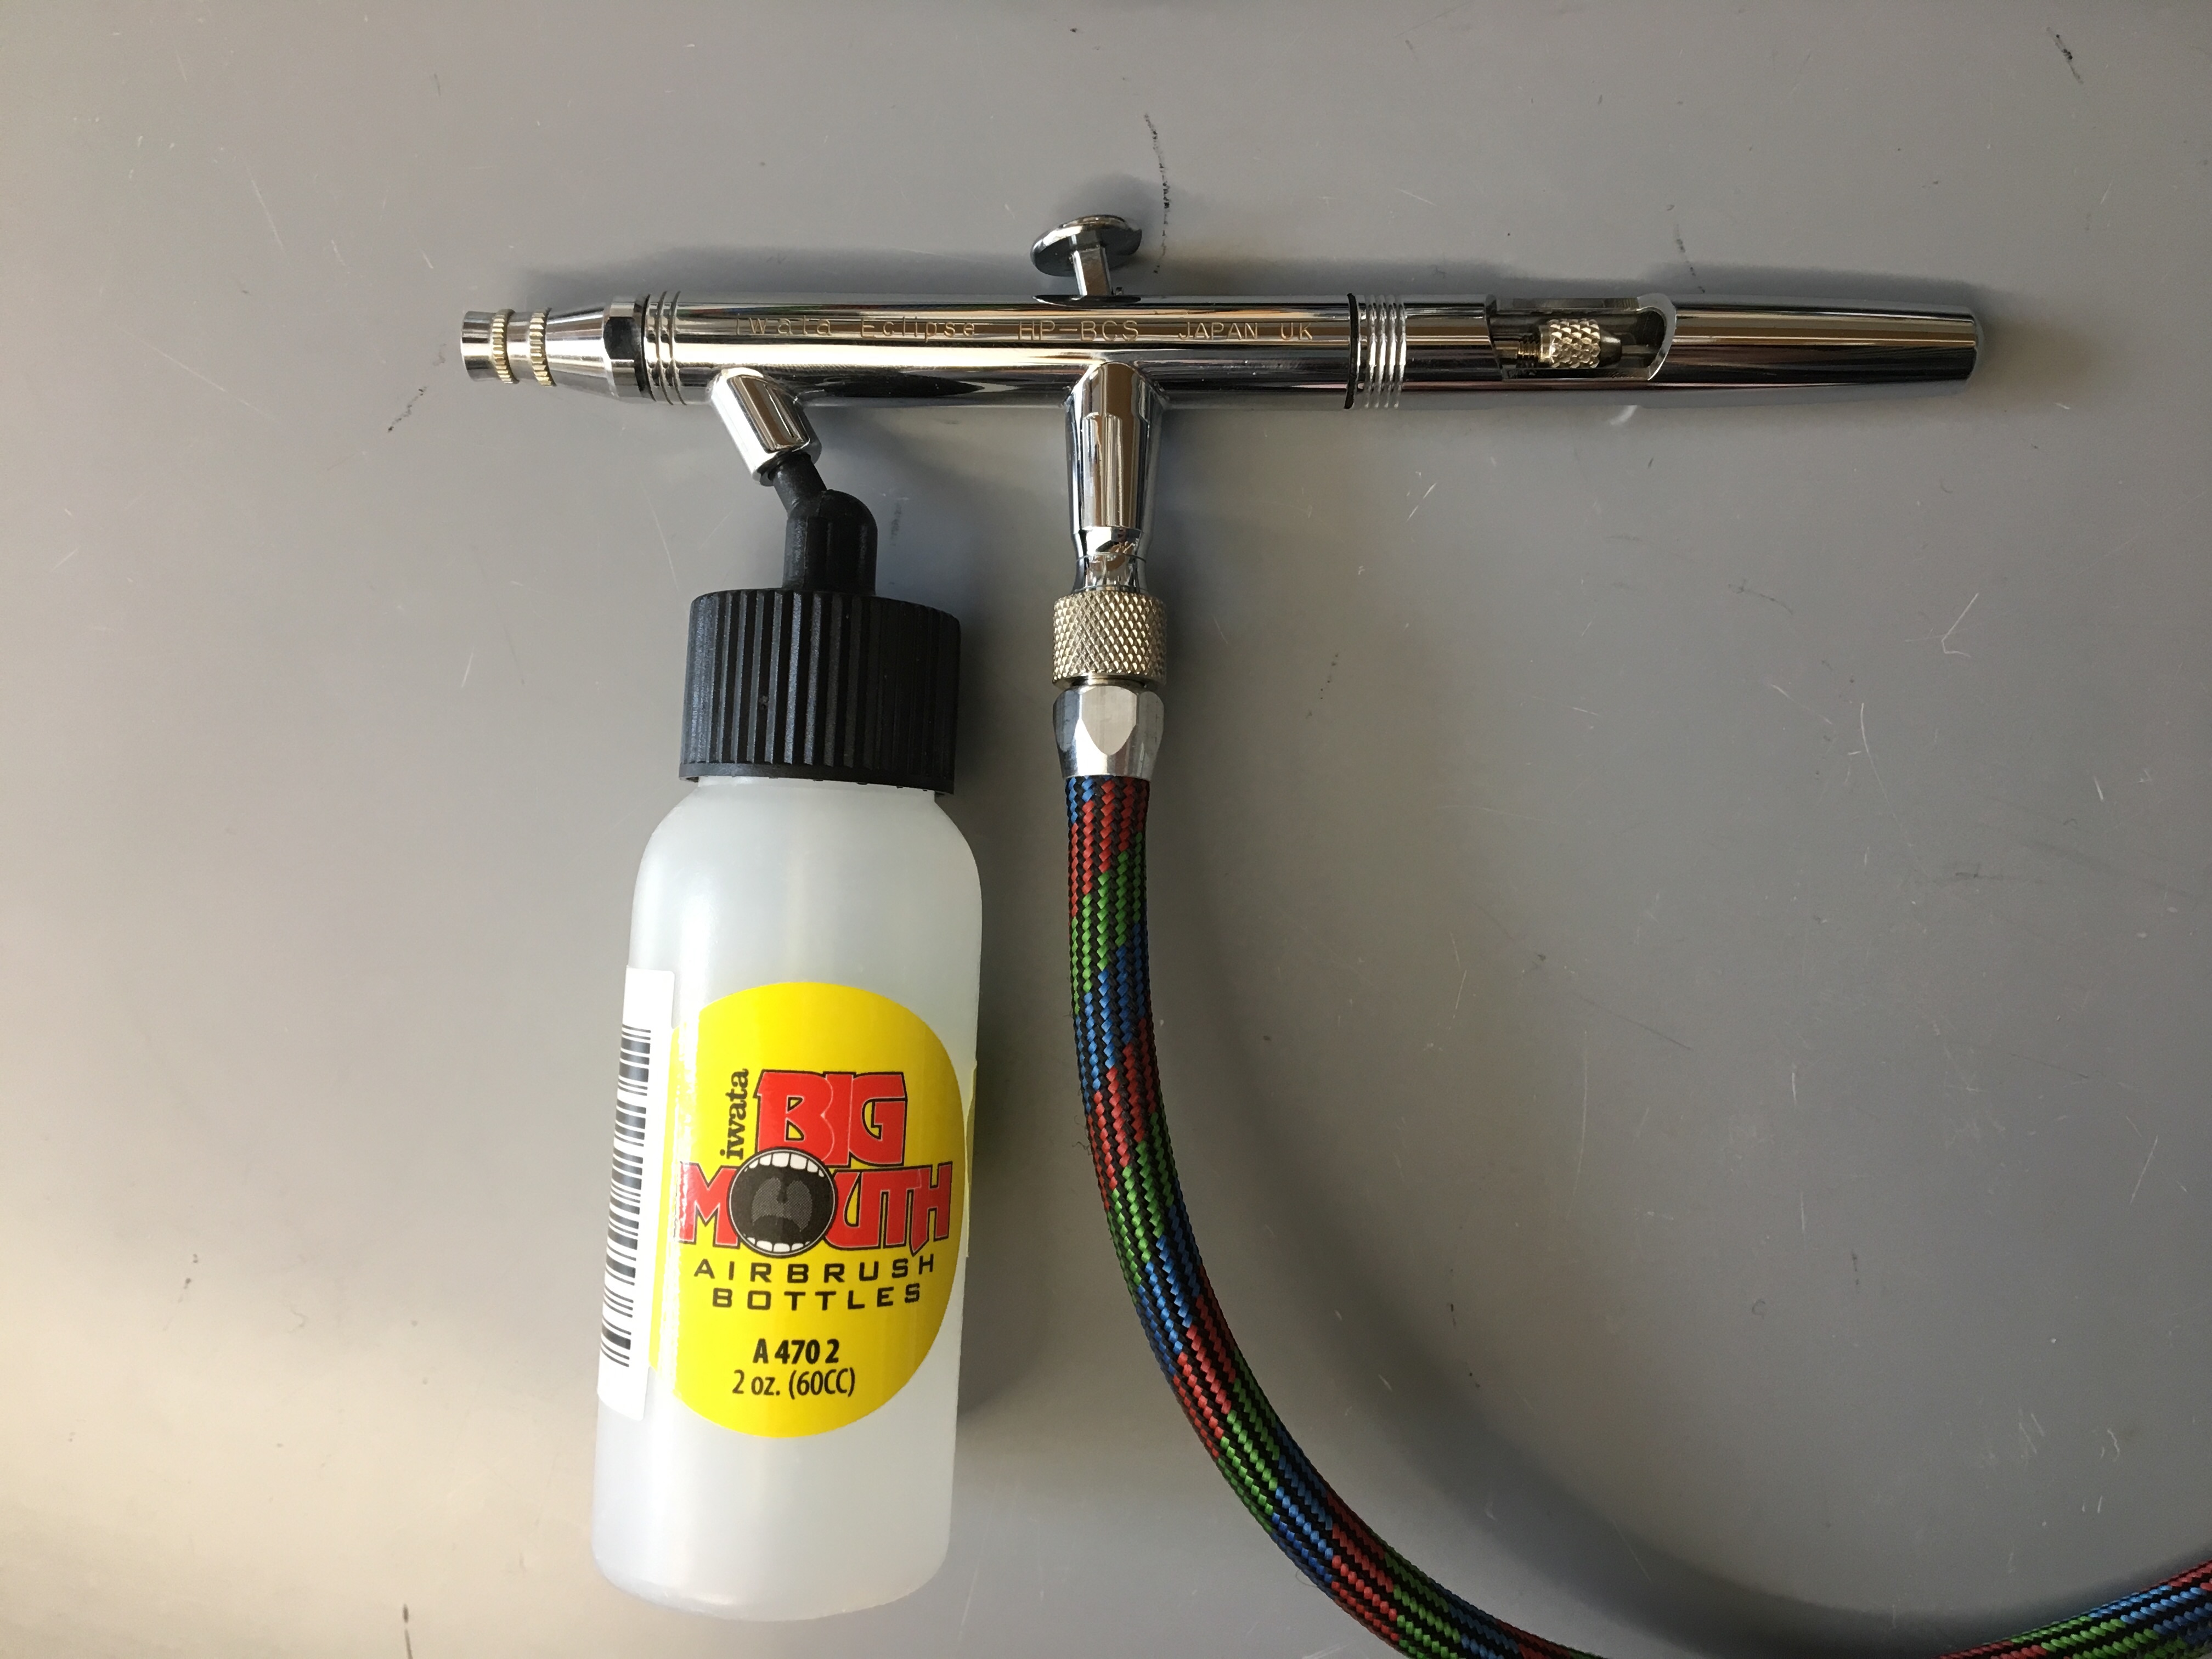
- Iwata airbrush set - includes airbrush, air compressor, bottle, hose, etc
- Compressed air source
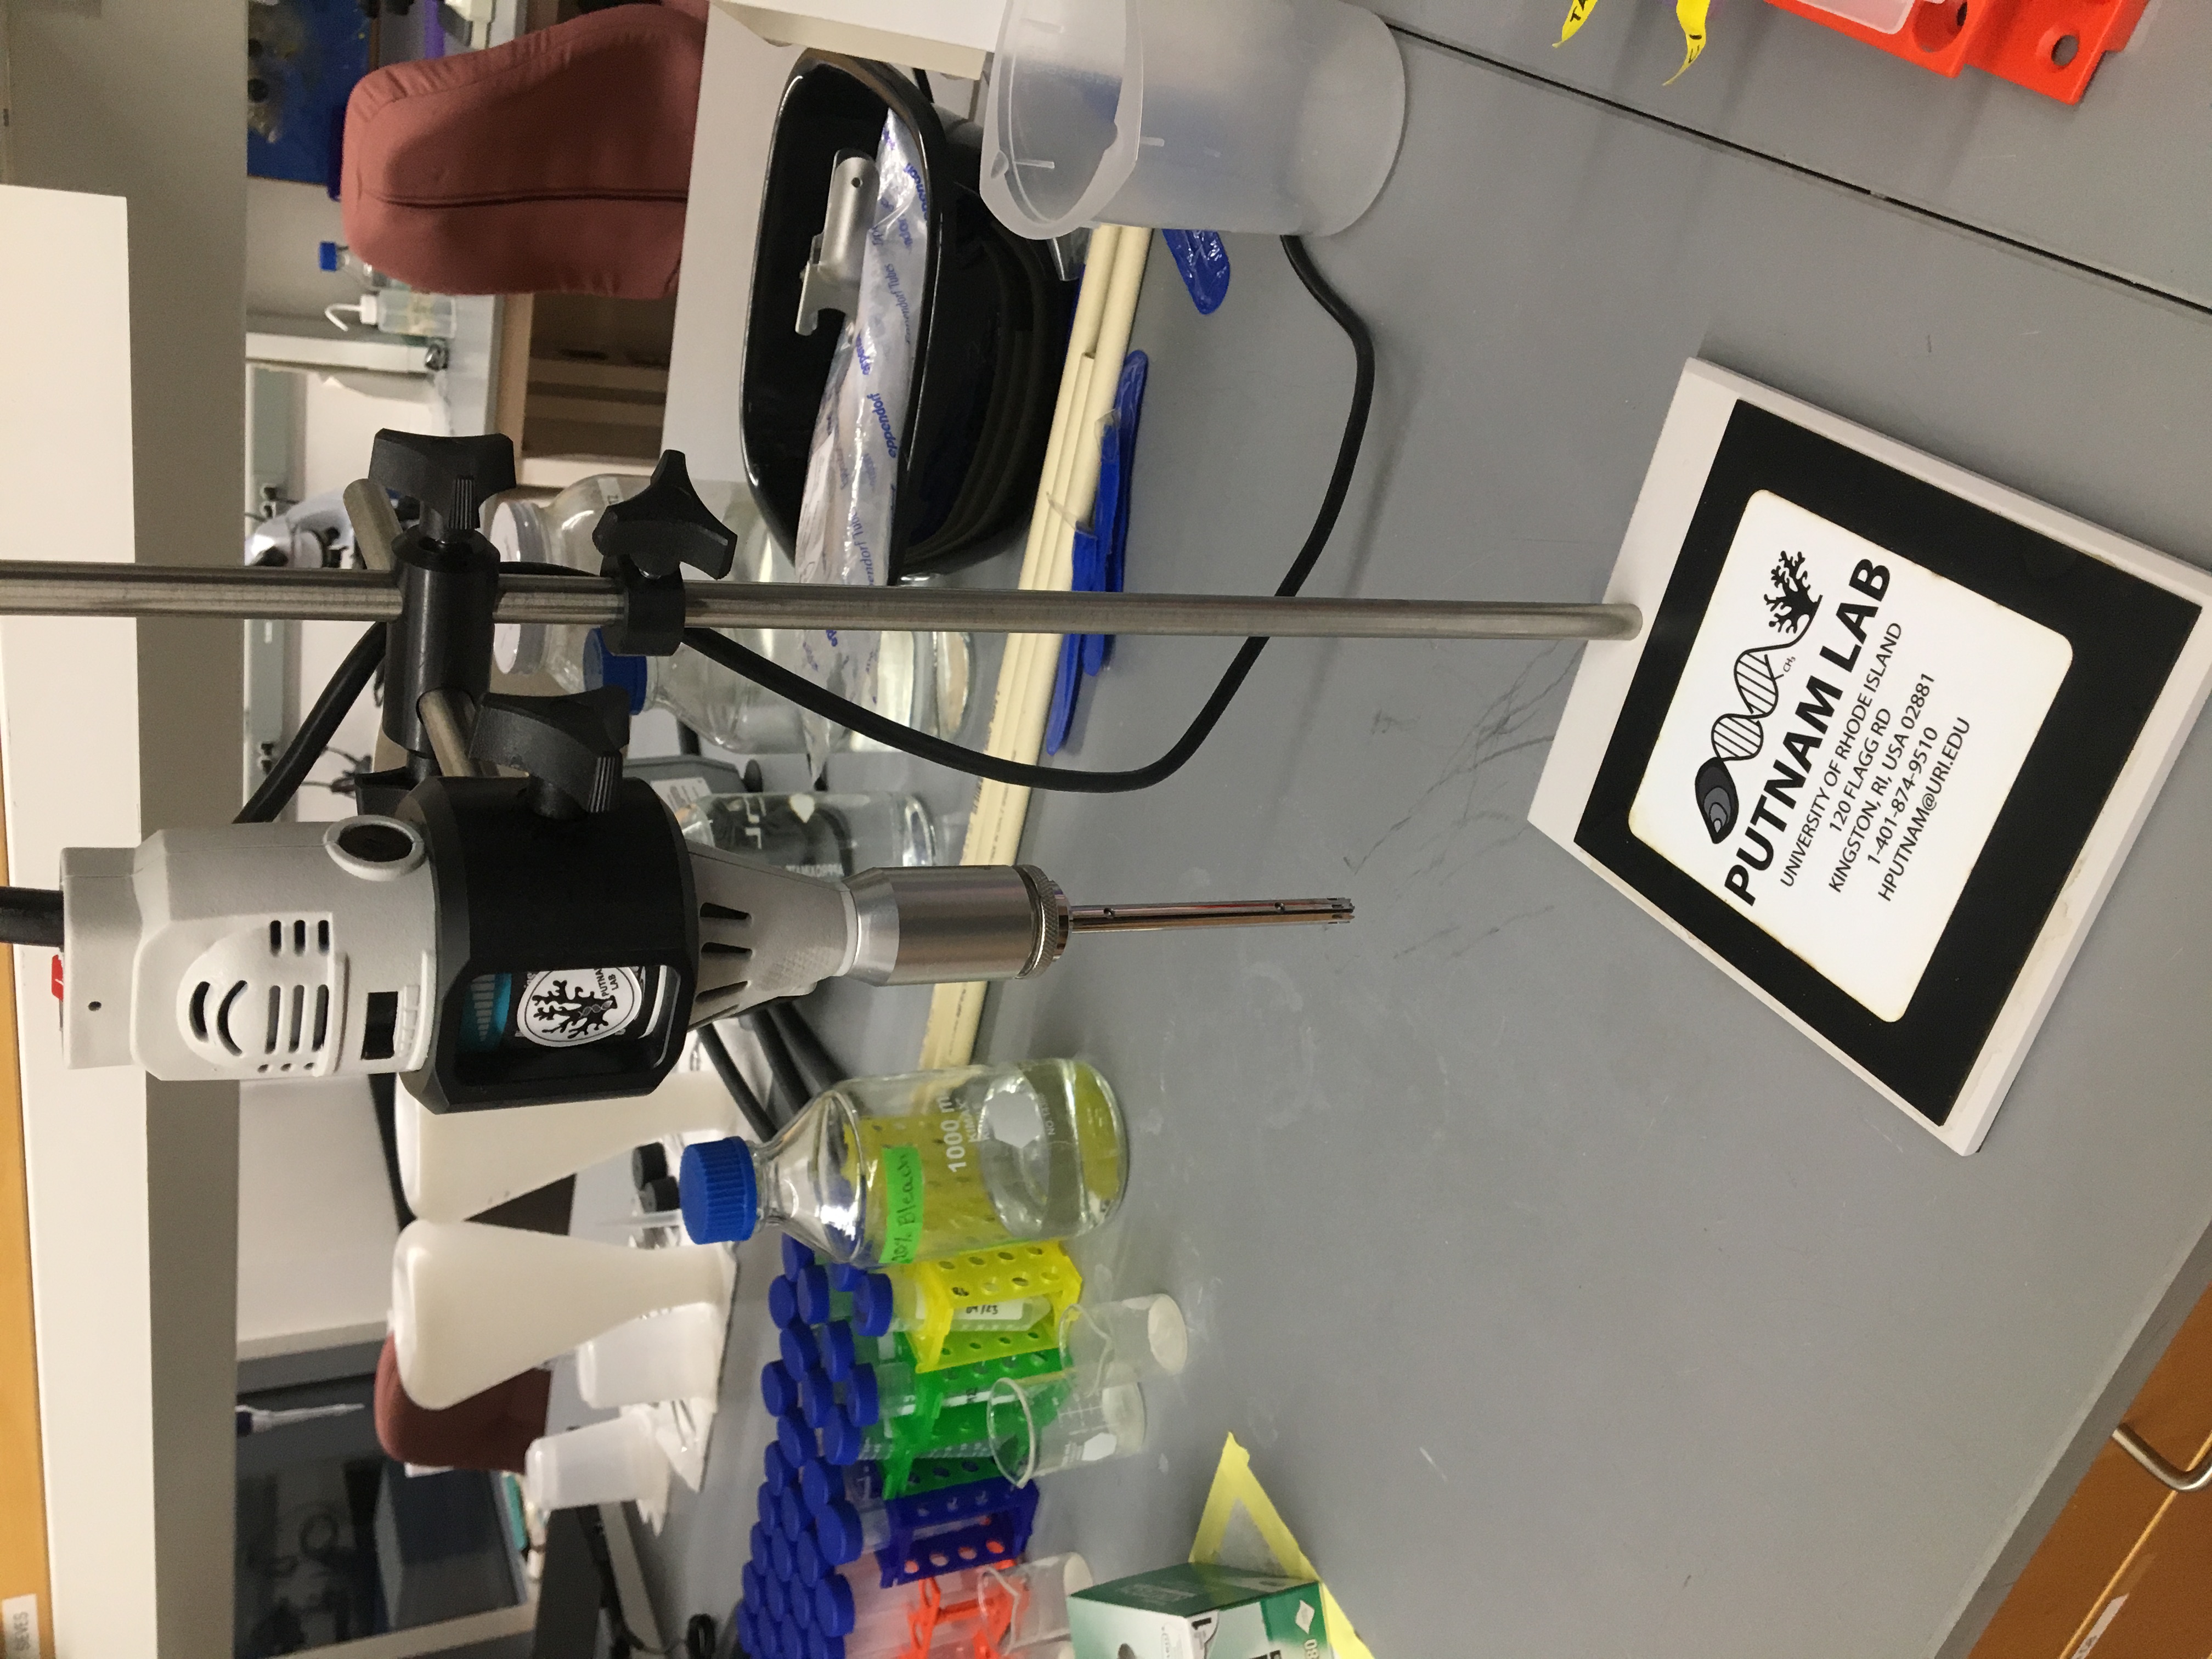
- Homogenizer kit
- P1000 Pipette and Tips
- 1.5 and 50 mL Tubes
- DNA/RNA shield
- PBS
- 70% Ethanol
- 10% and 20% Bleach
- Ice-cold 1X PBS (pH = 7.4)
- DI Water
- Paper Towels
- Foil
- Forceps
- Coolers w/ dry ice (or normal ice if samples from -20 ºC)
- Ziplock bags and small containers
-
Working area:
- Spray benchtop down with 70% ethanol and wipe down.
- Get out a small coolers of dry ice or fill a cooler with regular ice if dry ice is not available (appropriate for samples kept in -20 ºC).
Airbrush set up:
- Connect one end of the connecting hose to the air compressor. Connect the other end to the airbrush. add picture
- Fill the airbrush bottle with ice-cold PBS solution. Cap the bottle and attach to airbrush. add picture
- Turn on the air compressor.
- Rinse the airbrush for 30 seconds. Aim the nozzle of the airbrush (end closest to the airbrush bottle) into an empty 100 mL beaker. Push down (pulls air from the compressor) and pull back (pulls water from the bottle) on the trigger to operate.
Sample labeling:
- Collect necessary tubes and ziplock bags, and label for each sample. Label each tube with the specific assay that it will be used for. The following is needed for each sample:
- one 2 mL tube for chlorophyll a (“Chl”)
- one 2 mL tube for symbiont density (“Sym”)
- one 2 mL tube for protein (“Prot”)
- one 50 mL tube for remaining homogenate (“Homogenate Airbrushed XX/XX/XX”)
- one quart-sized ziplock bag for airbrushing
Label tubes with sample ID, airbrushed date, initials, and what the tissue will be used for (the words in quotes above). Label the ziplock bag with just the sample ID
-
- Important things to remember before starting:
- Never touch fragment with your fingers
- Sterilize materials between each sample with 10% bleach and 70% ethanol
- Sterilize all tools (forceps, homogenizer, scissors, and airbrush) before use.
- Remove coral fragment from freezer
- Use forceps to place coral fragment in labeled ziplock bag (quart size), keep on ice
- Airbrush with 1X PBS (pH = 7.4)
- Push down and pull back on the trigger to operate the airbrush, hovering over a section of tissue to clear the skeleton before releasing moving on to another section. Hold the airbrush nozzle at least an inch above the coral fragment so that the polyps and sharp structure of the coral does not damage the fragile airbrush pieces.
- Take care to remove tissue from entire surface area, including deep tissue
- Attempt to keep total blastate volume below 50mL to fit into one falcon tube (i.e., use PBS through airbrush efficiently!).
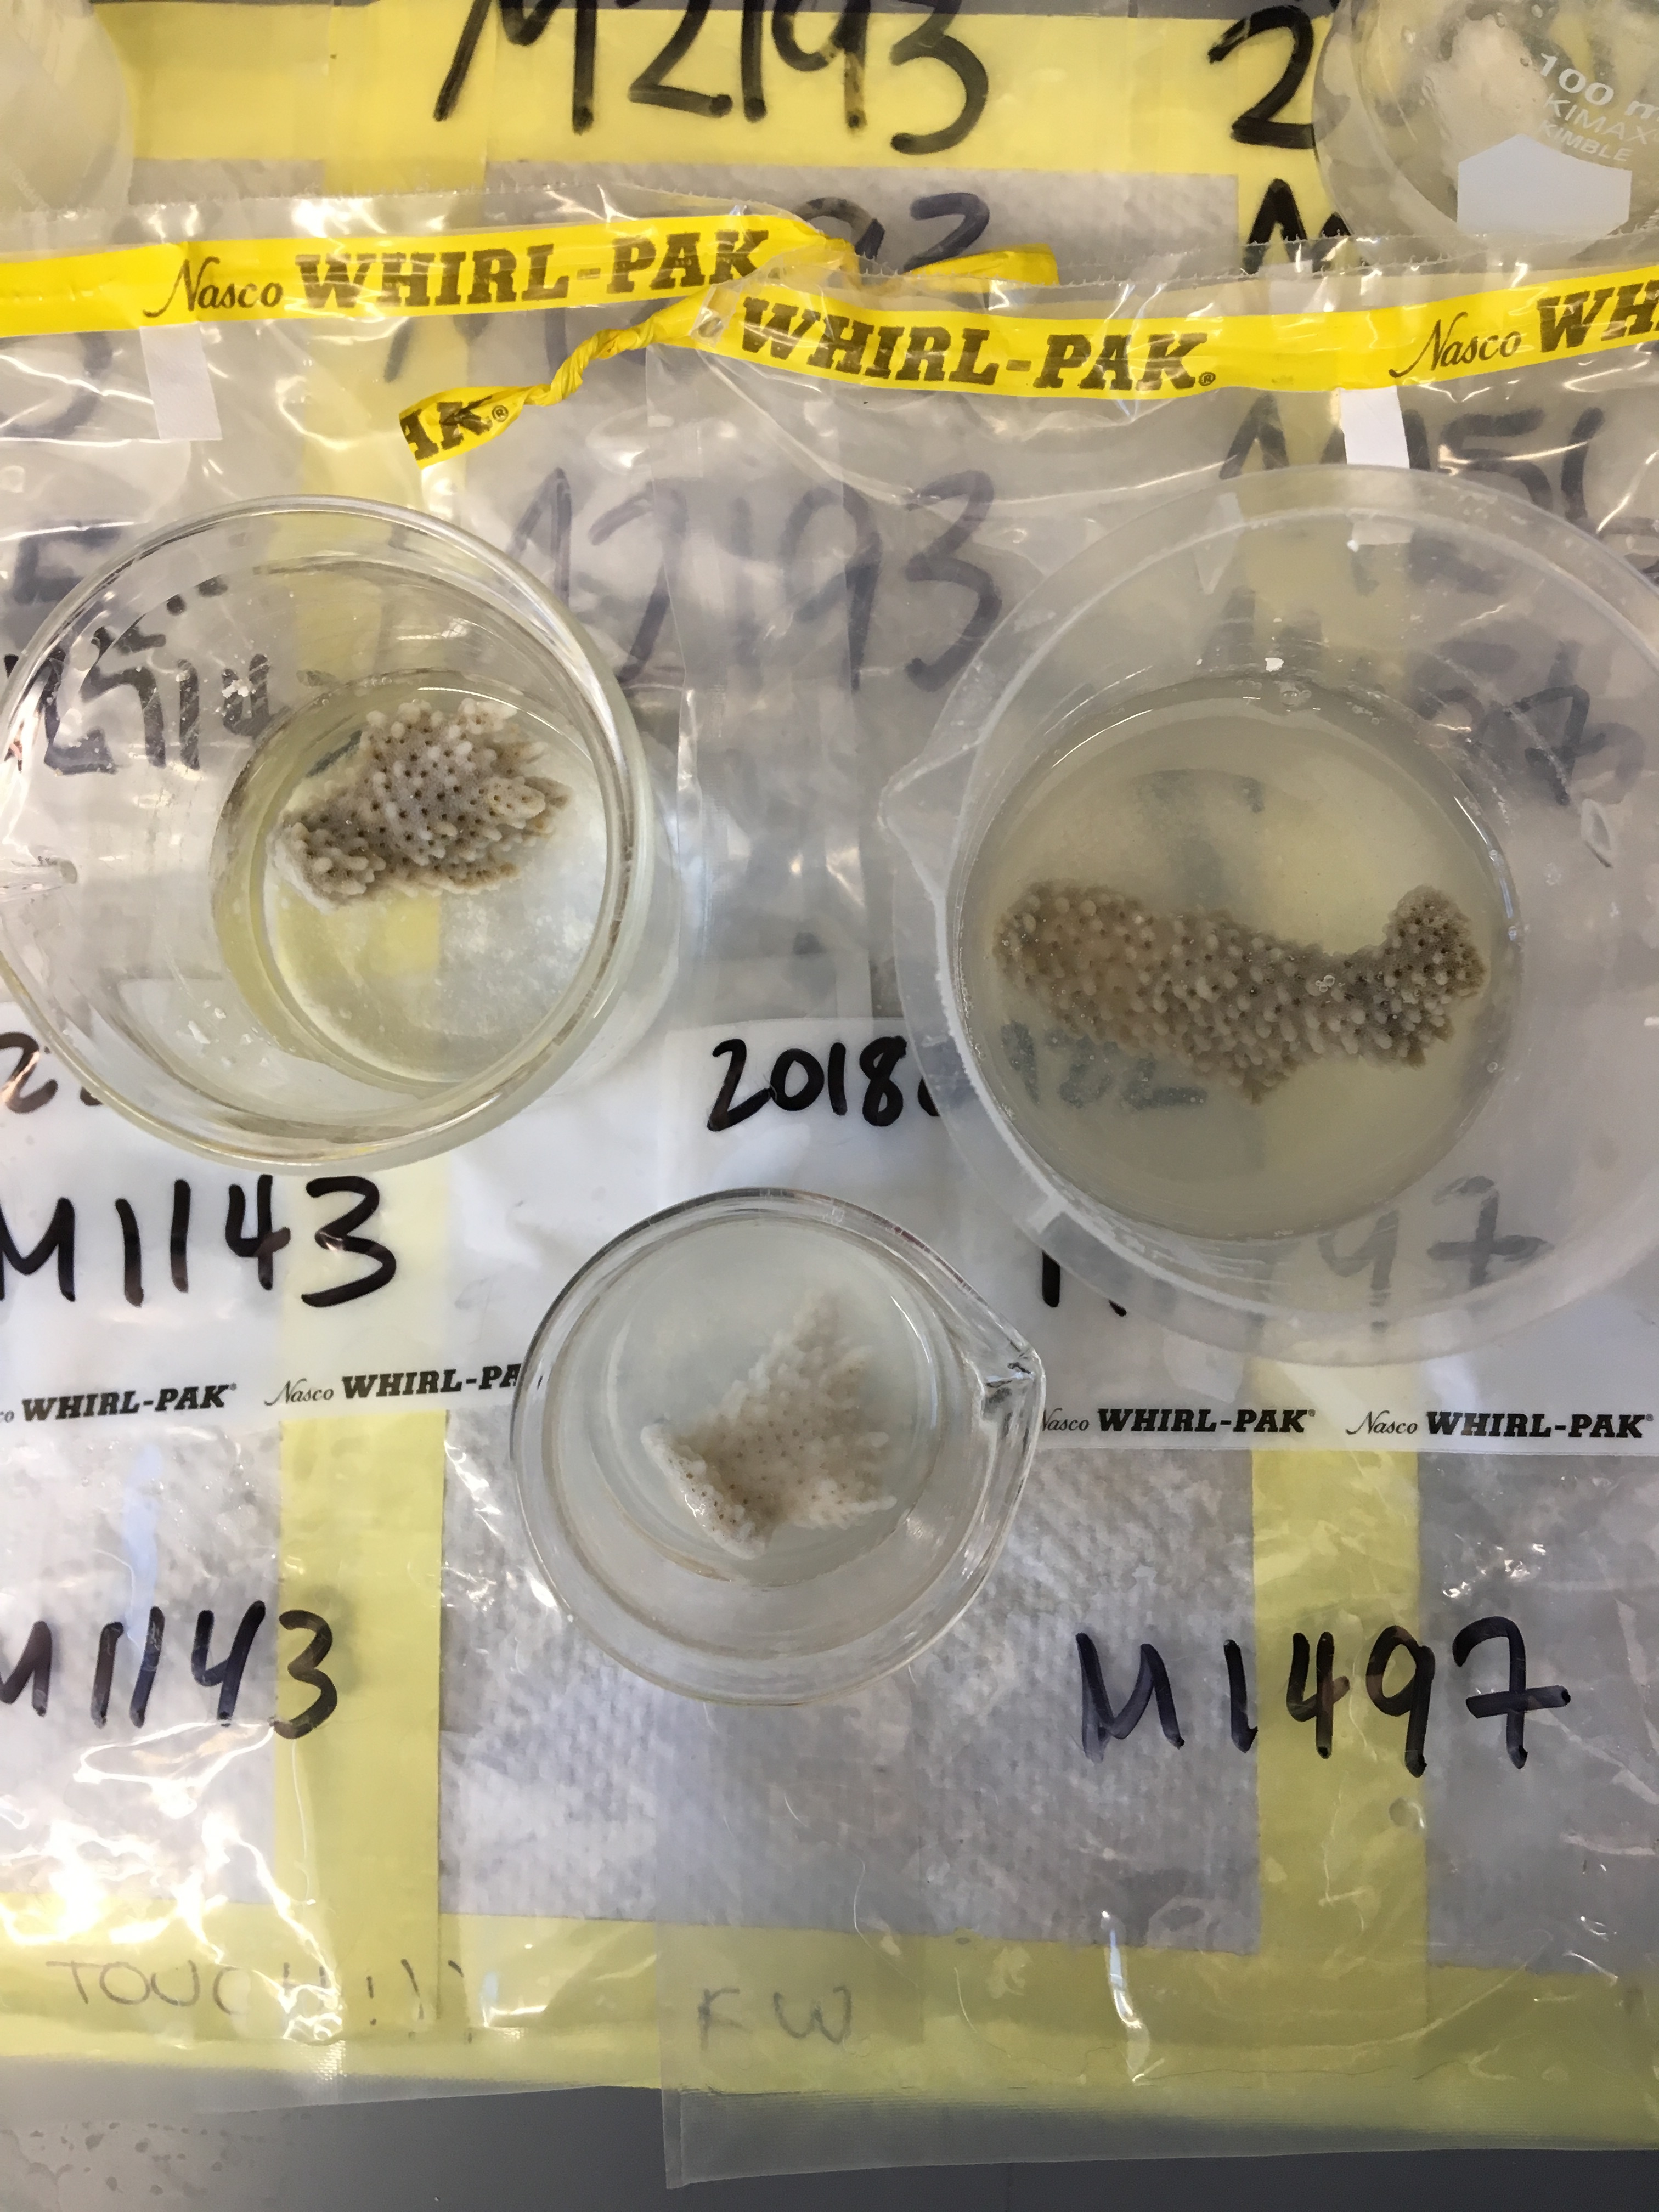
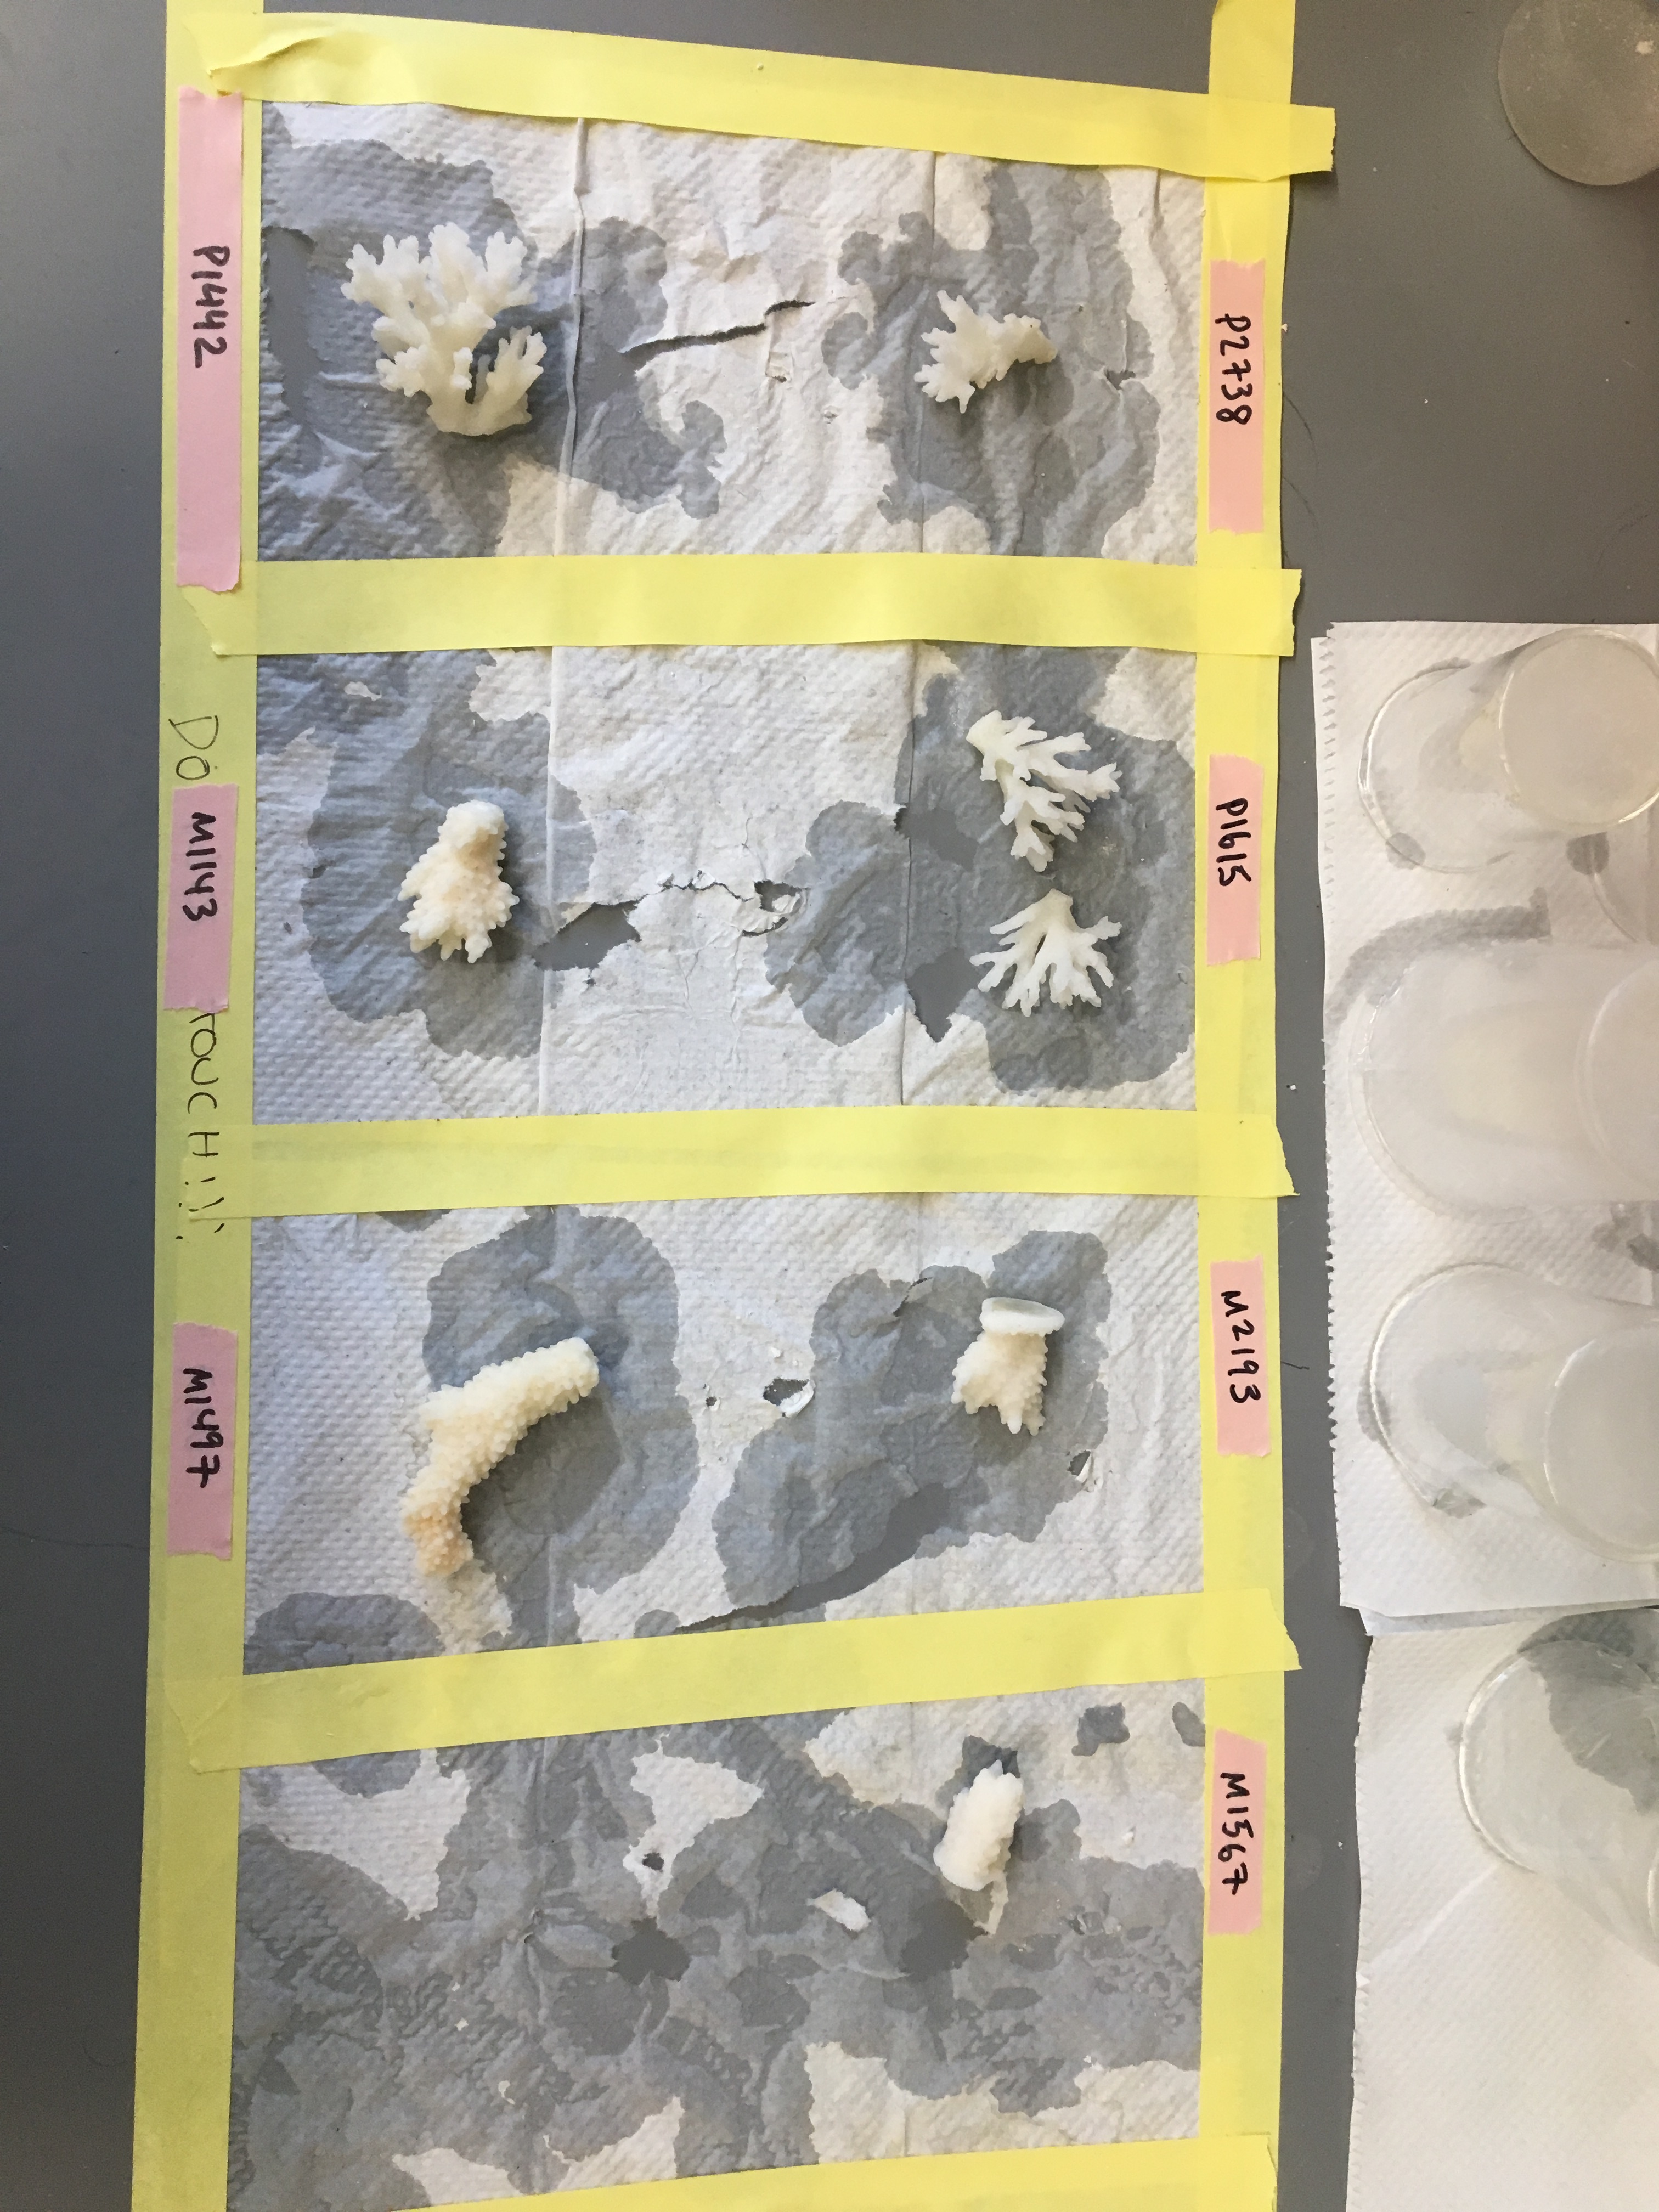
- Using forceps, remove the coral skeleton and place on a labelled paper towel on the benchtop.
- Transfer tissue slurry from the bag to a sterile 50mL falcon tube using sterilized scissors and rinse sides of bag with 1x PBS, adding rinsate to falcon tube.
- Record total volume of tissue slurry and store on ice until homogenization.
- Homogenize slurry for 30 sec in falcon tube.
- Turn on starting at a low speed. Gradually increase the speed of the microhomogenizer to fully homogenize the tissue slurry.
- Between each sample, clean the forceps, scissors, and the homogenizer in a 10% bleach solution for 30 seconds, DI wash #1 for 30 seconds, DI wash #2 for 30 seconds, then wipe down with an isopropanol wipe. Wipe down airbrush with 10% bleach and 70% ethanol or isoproanol wipes.
- Keep tube on ice until aliquotting.
- From the 50 mL falcon tube:
- Aliquot 1 mL of tissue homogenate into the “Chl” tube
- Centrifuge the “Chl” microcentrifuge tube at 13,000 x rcf for 3 minutes.
- Discard the supernatant from the “Chl” tube and place the “Chl” tube in freezer in labelled box.
- Aliquot 1 mL of tissue homogenate into the “Prot” tube, place tube in freezer in labelled box.
- Aliquot 500 uL of tissue homogenate into the “Sym” tube, place tube in freezer in labelled box.
- Keep rest in 50 mL at -20 ºC or -80 ºC
- Aliquot 1 mL of tissue homogenate into the “Chl” tube
- Bleach skeleton fragment in 20% bleach in a labelled tupperware container (label BLEACH so it is not used for larvae/live coral) for 24 hours. After 24 hours, use sterilized tweezers to remove the skeleton and place on a paper towel labeled with the sample ID. Let dry for 24 hours. Move to ziplock bag labelled with sample ID.
- Important things to remember before starting:
Coral Airbrushing Video


Downstream Protocols
Also look at Putnam Lab Management Page here
Pics from Emma:
Written on June 19, 2023

