
Paxgene-Fixed Cryo-Embedded Tissue Processing Protocol
Paxgene-Fixed Cryo-Embedded Tissue Processing Protocol
- Materials
- Procedure
- Preparation
- 1. Fixation
- 2. Post-fixation wash (replace fixative with stabilizer)
- 3. Prepare PBS to store at 4ºC
- 4. Rehydrate tissue
- 5. Decalcification
- 6. Prepare sucrose solutions
- 7. PBS rinse
- 8. Cryoprotection
- 9. Embedding
- 10. Sectioning
- 10.5. Sectioning for Laser Capture Microdissection
- Table for test run
Materials
This lists materials needed for tissue prep only, sectioning materials are listed in the “Sectioning” section below.
Reagents and solutions
- Ethanol (100%, molecular biology grade)
- Bleach (for sterilizing tools + bench)
- PAXgene tissue fixative
- PAXgene tissue stabilizer
- RNAse cleaner
- Molecular-grade water (RNase/DNase-free)
- PBS Tablets
- EDTA (0.5 M), pH 8.0, RNase-free
- Sucrose
- OCT Embedding Medium
- Cryomolds
Glassware and Consumables
- 50 mL conical tubes
- 5 mL Centrifuge Tubes
- 5 mL Serilogical pipettes or p5000 pipette tips
- 6-Well Plates
- LevGo® STERILE Tissue Spatula
- CryoELITE® Tissue Vial
Equipment
- Serological pipette or p5000 pipettor
- Parafilm
- Kimwipes
- Razor blade
- Clippers
- Forceps
- Scale
- Shaker/rotating plate in cold room or 4 ºC fridge
- Ours is a discontinued Thermo Scientific™ Compact Digital Microplate Shaker #11-676-337
- Fume hood
- Flammable-safe refrigerator
- Dry Ice
- Mortar and Pestle
Procedure
Old Protocol with pictures here
Preparation
- Clean bench and metal tools (clippes, forceps) with clean paper towels (spray solution, wipe down) in the following order:
- 10% bleach solution
- DI water
- 70% ethanol
- RNAse cleaner (spray bottle)
1. Fixation
- Wear PPE (lab coat, gloves, eye covering)
- Prepare fixative tubes: transfer 4 mL of PAXgene tissue fixative from a tissue fixative container (they come in 50 mL plastic jars) to a 5 mL screw-cap tube
- Clip live coral directly into 4 mL of PAXgene (5 mL tube)
- Fix 24hr at 4 ºC, gently shaking at 150 rpm
2. Post-fixation wash (replace fixative with stabilizer)
- Fume hood with proper PPE
- Add specified amount of ethanol to PAXgene tissue stabilizer and keep at 4 ºC
- Prepare and label waste containers: 1 bottle and one bag for contaminated solids
- Remove fixative into PAXgene fixative + stabilizer waste bottle
- Replace with 4 mL of cold (4ºC) stabilizer. Close tube.
- Invert tube 3X and then discard the stabilizer into same waste bottle.
- Replace with fresh stabilizer and store tubes in 4ºC Flammable Fridge.
- Label box as containing tissue in PAXgene tissue stabilizer (flammable!)
3. Prepare PBS to store at 4ºC
- PBS (DNAse/RNAse-free): 10 1X PBS tablets to 1 L of RNAse/DNAse-free molecular-grade water
- Chill EDTA - put a 50 mL aliquot at 4ºC per six-well plate at a time
- Main bottle is supposed to stay at room temperature to avoid precipitation
4. Rehydrate tissue
- Goal: to remove excess stabilizer (contains ethanol) before decalcification (EDTA and ethanol form a precipitate)
- Transfer tissue to DNAse/RNAse-free PBS in 6-well plate at 4 ºC
- Shake gently for 15 minutes to wash tissue. Can alternatively change the PBS 2x for 3 5 minute washes.
5. Decalcification
- Replace PBS with cold 0.5 M EDTA (pH 8.0)
- Seal plate with parafilm, shake gently at 4 ºC overnight-5 days (depending on sample)
- Replace EDTA daily or every 48hr until skeleton is dissolved.
6. Prepare sucrose solutions
- 15% sucrose: Add 7.5 g sucrose to 50 mL DNAse/RNAse-free PBS in a 50mL falcon tube.
- Aliquot into 15 mL falcon tubes for each sample. Store at 4 ºC.
- 30% sucrose: Add 15 g sucrose to 50 mL DNAse/RNAse-free PBS.
- Aliquot into 15 mL falcon tubes for each sample. Store at 4 ºC.
7. PBS rinse
- Replace EDTA in plate with PBS gently without disturbing tissue
- Gently shake for 5 minutes at 4ºC
- Repeat 2x more for 3 total rinses
8. Cryoprotection
- Once the tissue is decalcified, it is very fragile and difficult to pick up. I use sterilized, very fine forceps or LevGo Tissue Spatulas.
- Transfer each tissue very carefully using a tissue spatuala to an individually labelled 15 mL tube or 6-well plate containing 15 % sucrose
- Incubate 10 minutes or until tissue sinks at 4 ºC
- Often the tissue sinks immediately
- Transfer each to labelled 15 mL tube or 6-well plate containing 30 % sucrose
- Incubate until tissue sinks, usually overnight
9. Embedding
Old embedding Protocol here has pictures, but this one is much more up to date/ideal for careful RNA work.
- If possible, embed in cold room at 4ºC
- Cool tools, OCT, cryomolds, and CryoELITE® Tissue Vials to 4ºC by putting on dry ice or in cold room while preparing everything
- Gather cooler of dry ice and use mortar and pestle to crush some pieces of dry ice into a fine powder
- I use a cleaned tip box lid as a container for the powdered dry ice
- Label cryomold with sample information
- Label cryovial for tissue block storage
- Prepare a page in lab notebook for recording tissue orientiation information
- take pictures if possible
- Fill labelled cryomold with a small amount cooled OCT (about halfway full), being careful to not make any bubbles
- If bubbles form, push to side of block with clean forceps or clean pipette tip
- Using sterilized and cooled forceps, transfer tissue from PAXgene stabilizer or sucrose to a piece of cleaned parafilm
- Dab the surrounding liquid (NOT the tissue itself) with the corner of a kim wipe to remove excess liquid
- Get tissue as dry as possible
- Immediately place into OCT in cryomold and record orientation information
- Fill in cryomold with additional OCT, reposition tissue as needed
- Dispense OCT very slowly
- While recording information and repositioning tissue to be as desired, we give the tissue 1-2 minutes to soak in OCT before freezing - we want crevaces to be filled in with OCT
- Place cryomold on powdered dry ice so all outside surfaces of the mold are touching powdered dry ice until OCT block is completely opaque (~2-5 minutes)
- do not allow dry ice to touch the tissue or OCT at all
- I do this in a cleaned tip container filled with powdered dry ice to easily move around and position the block carefully, but while freezing I transfer this into a larger cooler filled with dry ice to keep it as cold as possible
- dry ice-100% ethanol slurry is also possible
- Once embedded tissue block is opaque, work quickly to demold and score block with razor blade to preserve orientation (record where the score is on your drawing!)
- If the tissue was at the very of the bottom of the mold and is visible through the OCT, it could have the potential to be exposed to air
- Add an extra dab of OCT on the bottom where the mold was and freeze on parafilm on dry ice
- Transfer to labelled, cooled cryovial, and immediately transfer (on dry ice) to -80 freezer
10. Sectioning
Tissue + other supplies prep
- 30 minutes before sectioning, move block containing tissue to -20 ºC freezer. Keep in sealed container.
- Also put brushes, forceps, and other supplies that will be used in the cryostat at -20 ºC to speed up equibriation to cryostat temperature when you get there
- Transport tissue and these supplies to cryostat on dry ice.
Bring to sectioning
- 100% Ethanol
- OCT Embedding Medium
- Microtome blades
- Glass Superfrost Plus slides
- Prepared PEN slides (above)
- Cling wrap
- Forceps
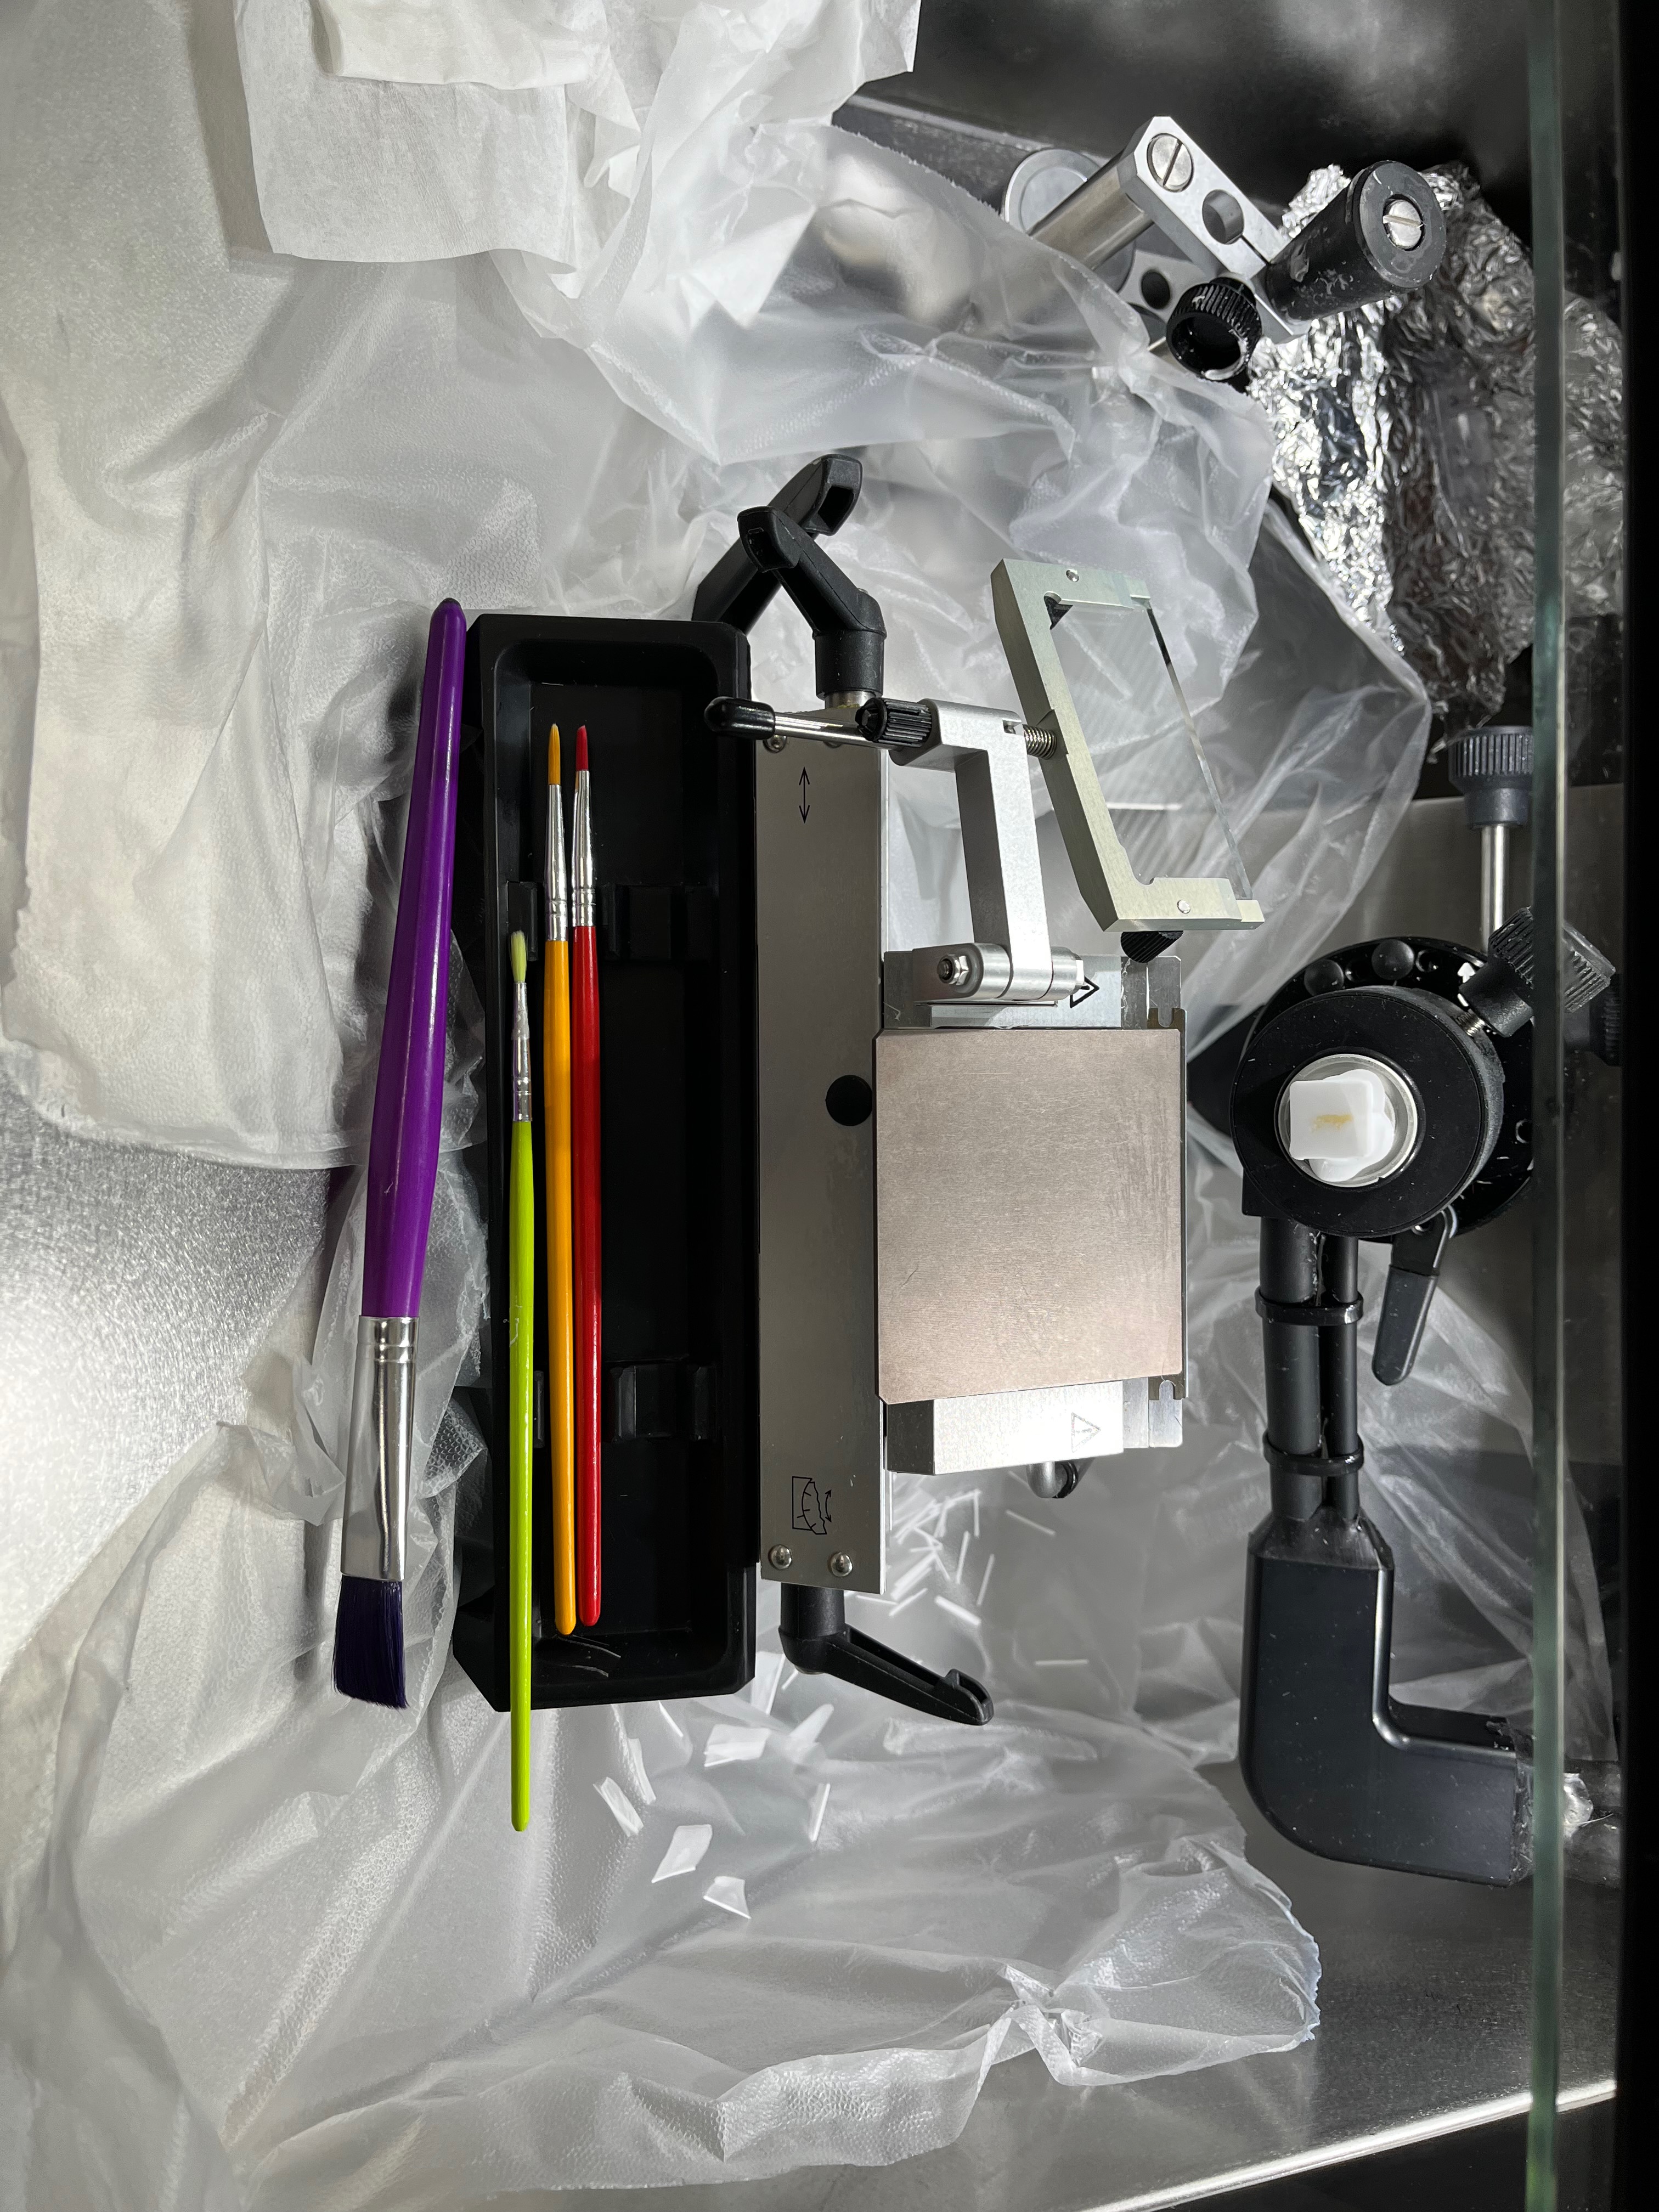
- Paintbrushes
- Razor Blades
- Falcon tubes with silica dessicant pouches
- Slide mailers for staining/storing slides
Sectioning protocol
Can ignore the RNAseZap steps if only taking slides for morphology/confocal and not for any RNA applications.
- Regularly clean gloves and high touch areas of the cryostat (& other supplies) with RNaseZap. Pure RNase Zap will freeze inside the cryostat, so only use the 1:1 RNaseZap/70% ethanol mixture inside there.
- Clean cryostat, microtome blade, and tools with 1:1 RNaseZap/70% ethanol mixture, then 95% ethanol. Wipe dry.
- (ref: Roy et al 2020)

- Cover internal surfaces with clingwrap.
- Place tissue blocks and all tools in cryostat to equilibrate to temperature (~30 mins if they were not yet at -20 ºC).
- Mount sample onto chuck with OCT drop.
- For POR blocks, I have been mounting the blocks perpendicular to the chucks (will add pic)
- Place chuck in holder and tighten screws.
- Insert microtome blade and lock all clamps.
- “Face” tissue using trim setting (~30-50 µm) until you get a clean, flat section across the whole block. Adjust angle as needed.
- Lock wheel when adjusting; stay clear of blade.
- Use brushes to remove unwanted sections and regularly clean any residue from the blade with kimwipes
- If you have a good sense of where the tissue is in the block, trim excess OCT around the tissue with a razor blade to minimize section area.
- Begin sectioning:
- Switch to fresh blade or fresh area of the blade.
- Turn off trim setting; set thickness to 10 µm (thicker sections may reduce rolling issues).
- Important tips:
- Use brushes to keep sections flat.
- Adjust the temperature colder (for crumpling/bunching) or warmer (for ripping/cracking/splintering).
- I have had success with -15 ºC - -24ºC.
- Clean blade regularly.
- Keep brushes and materials inside the cryostat and try to minimize body heat warming them up. If things are sticking too much, the chamber and tools might be too warm. Close the cryostat and let it come back to the right temperature every once and a while.
- Use brushes to keep sections flat.
- Make glass slides for confocal/H&E morphology:
- Label and make a few glass slides for confocal/H&E morphology visualization
- Pick up sections on slide with rolling motion; warm back of slide to melt section. Refreeze on cryostat plate.
- Transfer slide to falcon tube with dessicant, keep on dry ice until transfer to -80 ºC freezer.
- Remove block from chuck with razor blade or forceps. Cover exposed tissue with OCT, freeze, and keep in dry ice until transfer to -80 ºC.
- Remove clingwrap, clean cryostat with 70% ethanol, dispose of blades in sharps bin.
10.5. Sectioning for Laser Capture Microdissection
See LCM protocol here
Table for test run
| Day | Date | Step | Solution | Temperature | Duration | Start Time | End Time | Status |
|---|---|---|---|---|---|---|---|---|
| Prep Day 0 | Wed, 9/10 | Wash | PBS | 4 ºC (Cold room) | 15 | 10:00 | 10:15 | Done |
| Prep Day 0 | Wed, 9/10 | Decalcification | EDTA | 4 ºC (Cold room) | 24hr | 10:00 | 10:00 | Done |
| Prep Day 1 | Thu, 9/11 | Decalcification | EDTA | 4 ºC (Cold room) | 24hr | 10:00 | 10:00 | Done |
| Prep Day 2 | Fri, 9/12 | Decalcification | EDTA | 4 ºC (Cold room) | 24hr | 10:00 | 10:00 | Done |
| Prep Day 3 | Sat, 9/13 | Decalcification | EDTA | 4 ºC (Cold room) | 24hr | 10:00 | 10:00 | Done |
| Prep Day 4 | Sun, 9/14 | Decalcification | EDTA | 4 ºC (Cold room) | 24hr | 10:00 | 10:00 | Done |
| Prep Day 4 | Mon, 9/15 | Decalcification | EDTA | 4 ºC (Cold room) | 24hr | 10:00 | 10:00 | Done |
| Prep Day 5 | Wed, 9/17 | Decalcification | EDTA | 4 ºC (Cold room) | 24hr | 10:00 | 10:00 | Done |
| Prep Day 6 | Wed, 9/17 | Rinse | PBS | 4 ºC (Cold room) | 5 | 11:30 | 11:35 | Done |
| Prep Day 6 | Wed, 9/17 | Rinse | PBS | 4 ºC (Cold room) | 5 | 11:35 | 11:40 | Done |
| Prep Day 6 | Wed, 9/17 | Rinse | PBS | 4 ºC (Cold room) | 5 | 11:40 | 11:45 | Done |
| Prep Day 6 | Wed, 9/17 | Cryoprotection | 15% sucrose | 4 ºC (Cold room) | 10 | 11:45 | 12:45 | Done |
| Prep Day 6 | Wed, 9/17 | Cryoprotection | 30% sucrose | 4 ºC (Cold room) | overnight | 12:45 | 09:15 | Done |
| Embedding | Thu, 9/18 | Embedding | OCT | On dry ice | 15 | 09:15 | 9:30 | Done |
Written on September 10, 2025