
RNA Nanodrop Purity Check and Quantification Protocol
NanoDrop for RNA Protocol
This protocol was written by Maggie Schedl for the Putnam, Prada, and Puritz labs
Using the NanoDrop in the GSC to Quantify RNA Purity
Things to bring upstairs
- RNA samples thawed on ice bucket
- A small tube containing ultra-pure/nuclease free water
- A small tube containing the same solution that your RNA is suspended in (usually is ultra-pure water, if so, you don’t need to bring two)
- P2 pipette
- Filtered tips box for p2 (red)
- Your notebook
Procedure
- The GSC is on the third floor of CBLS, room 352, straight ahead in the corner to the left after you get off the stairs. The door should be unlocked between 9-4pm
- The NanoDrop is on the lab bench on the left side of the room, the piece of equipment closest to the sink. It has a computer attached
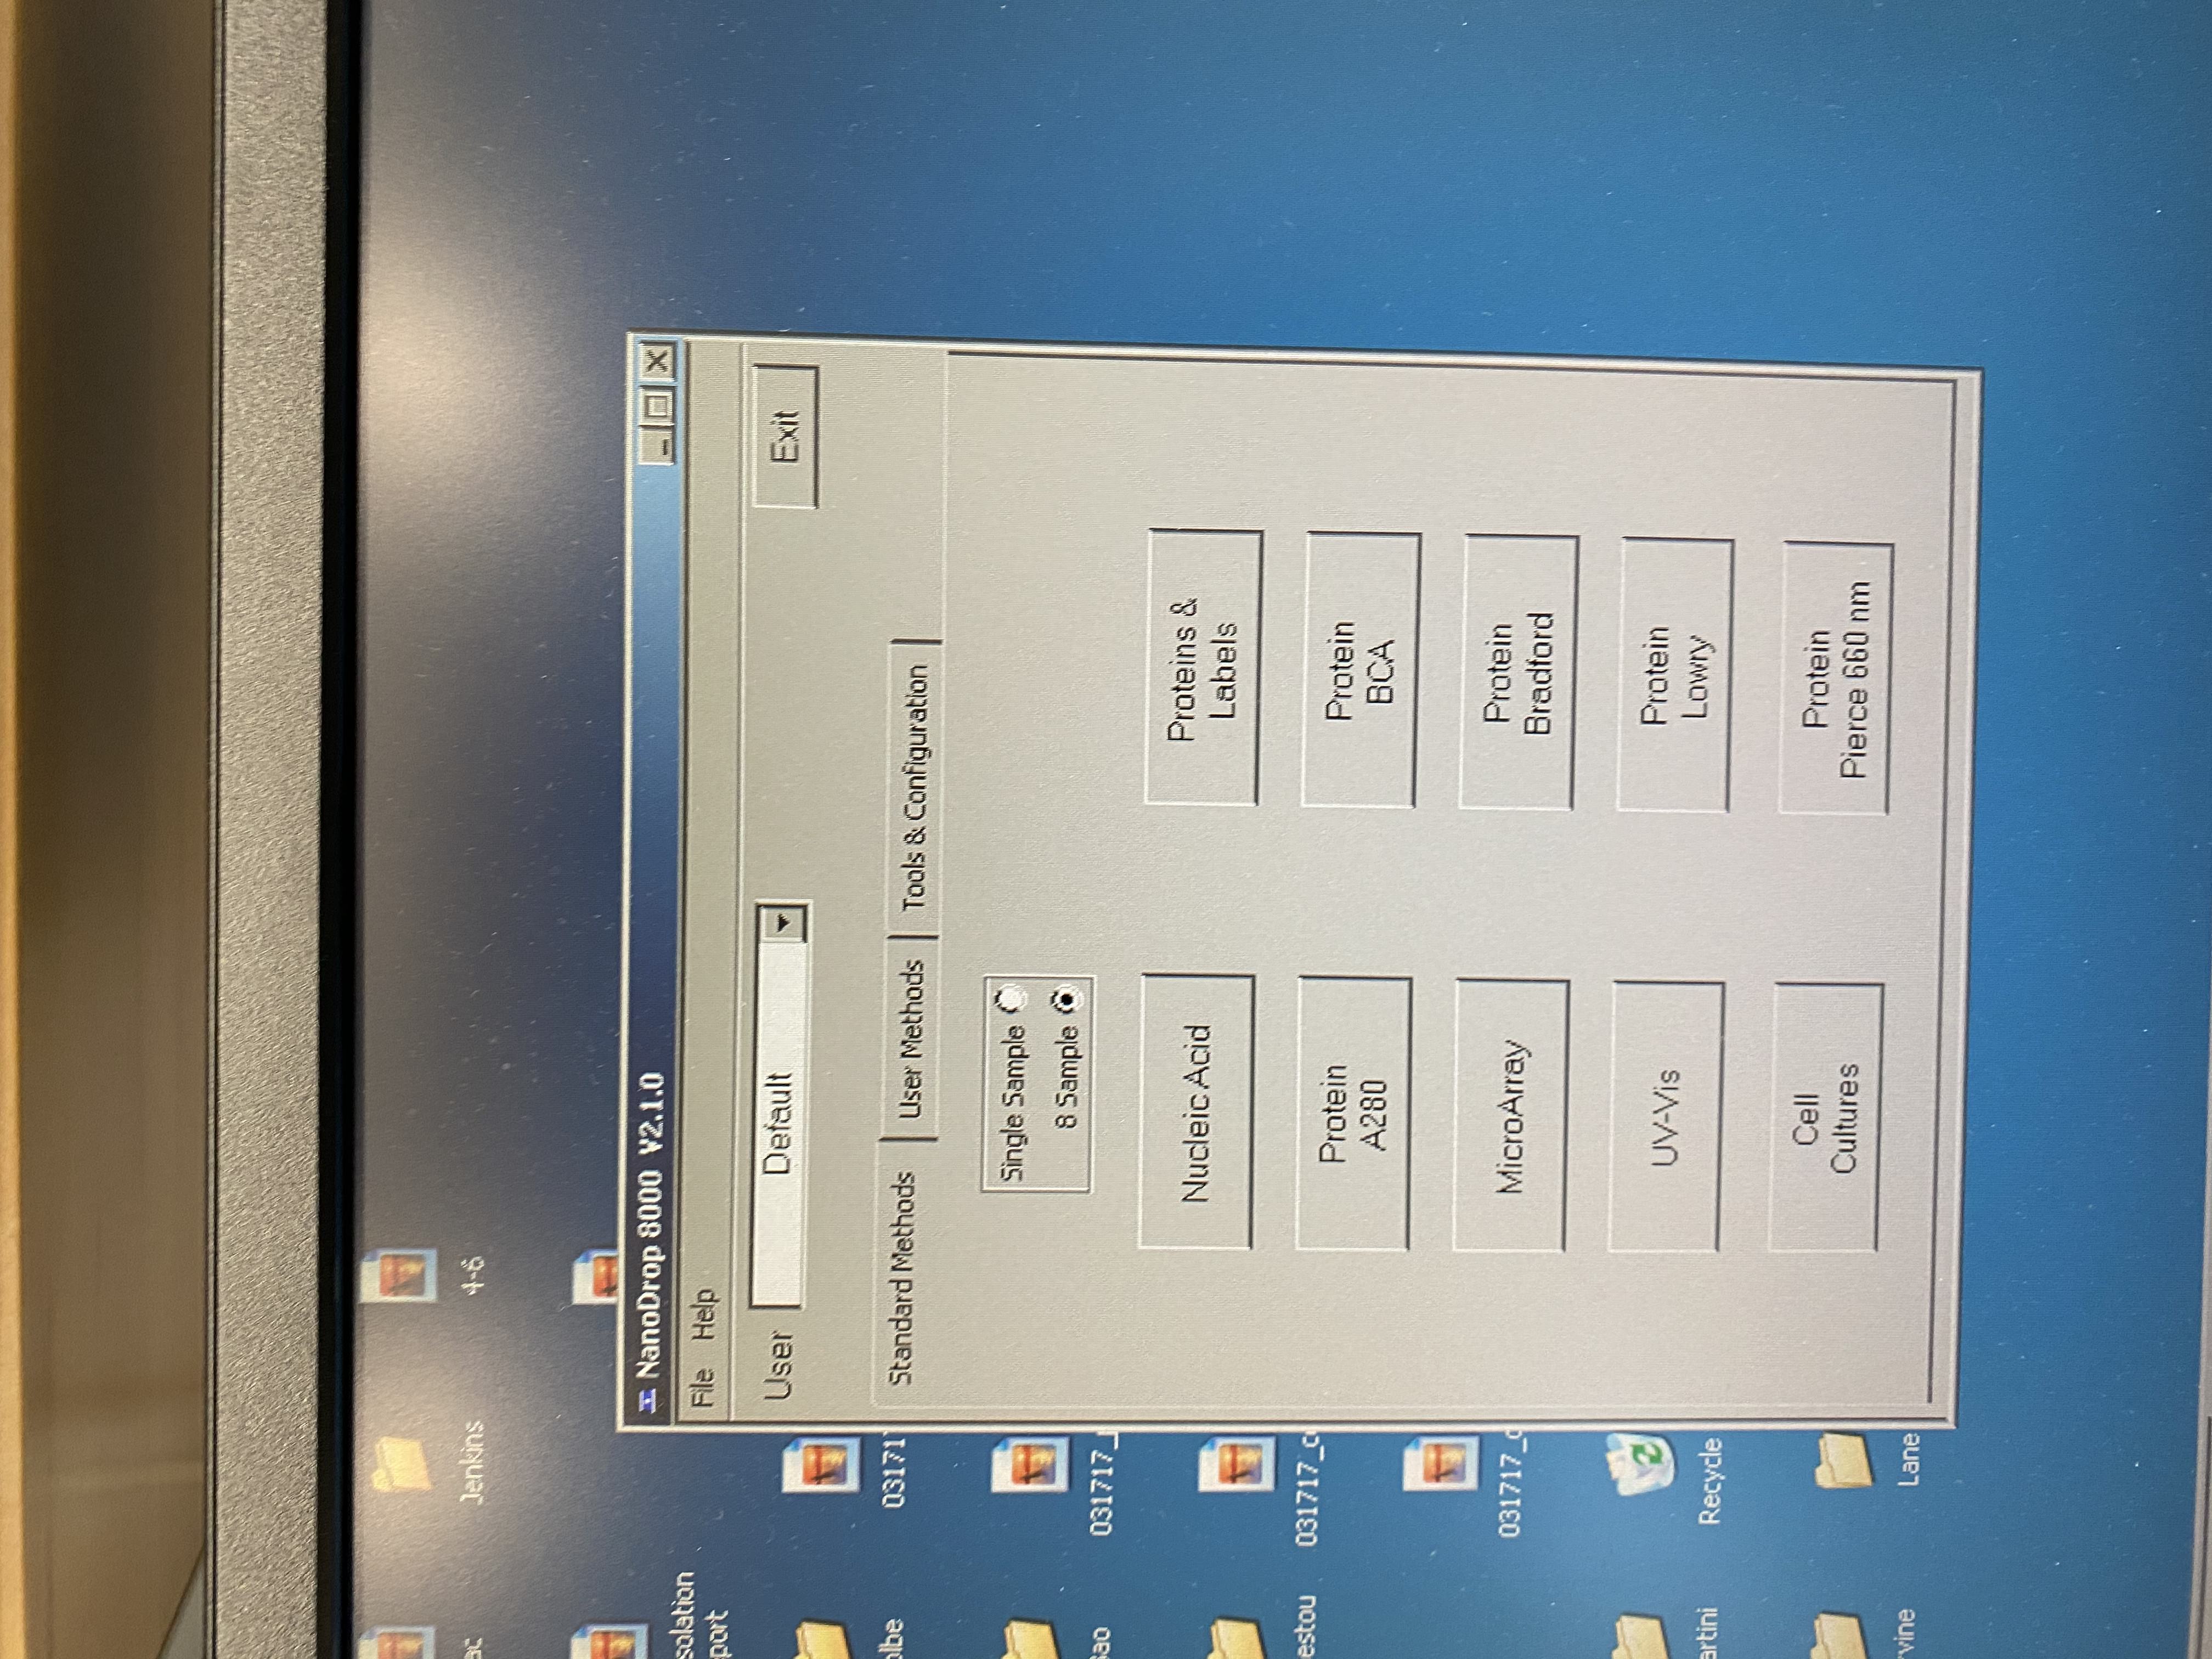
- Open up the NanoDrop program (if it’s not already open) by clicking the hour-glass shaped icon on the desktop
- Select single sample and nucleic acid on the window that pops up
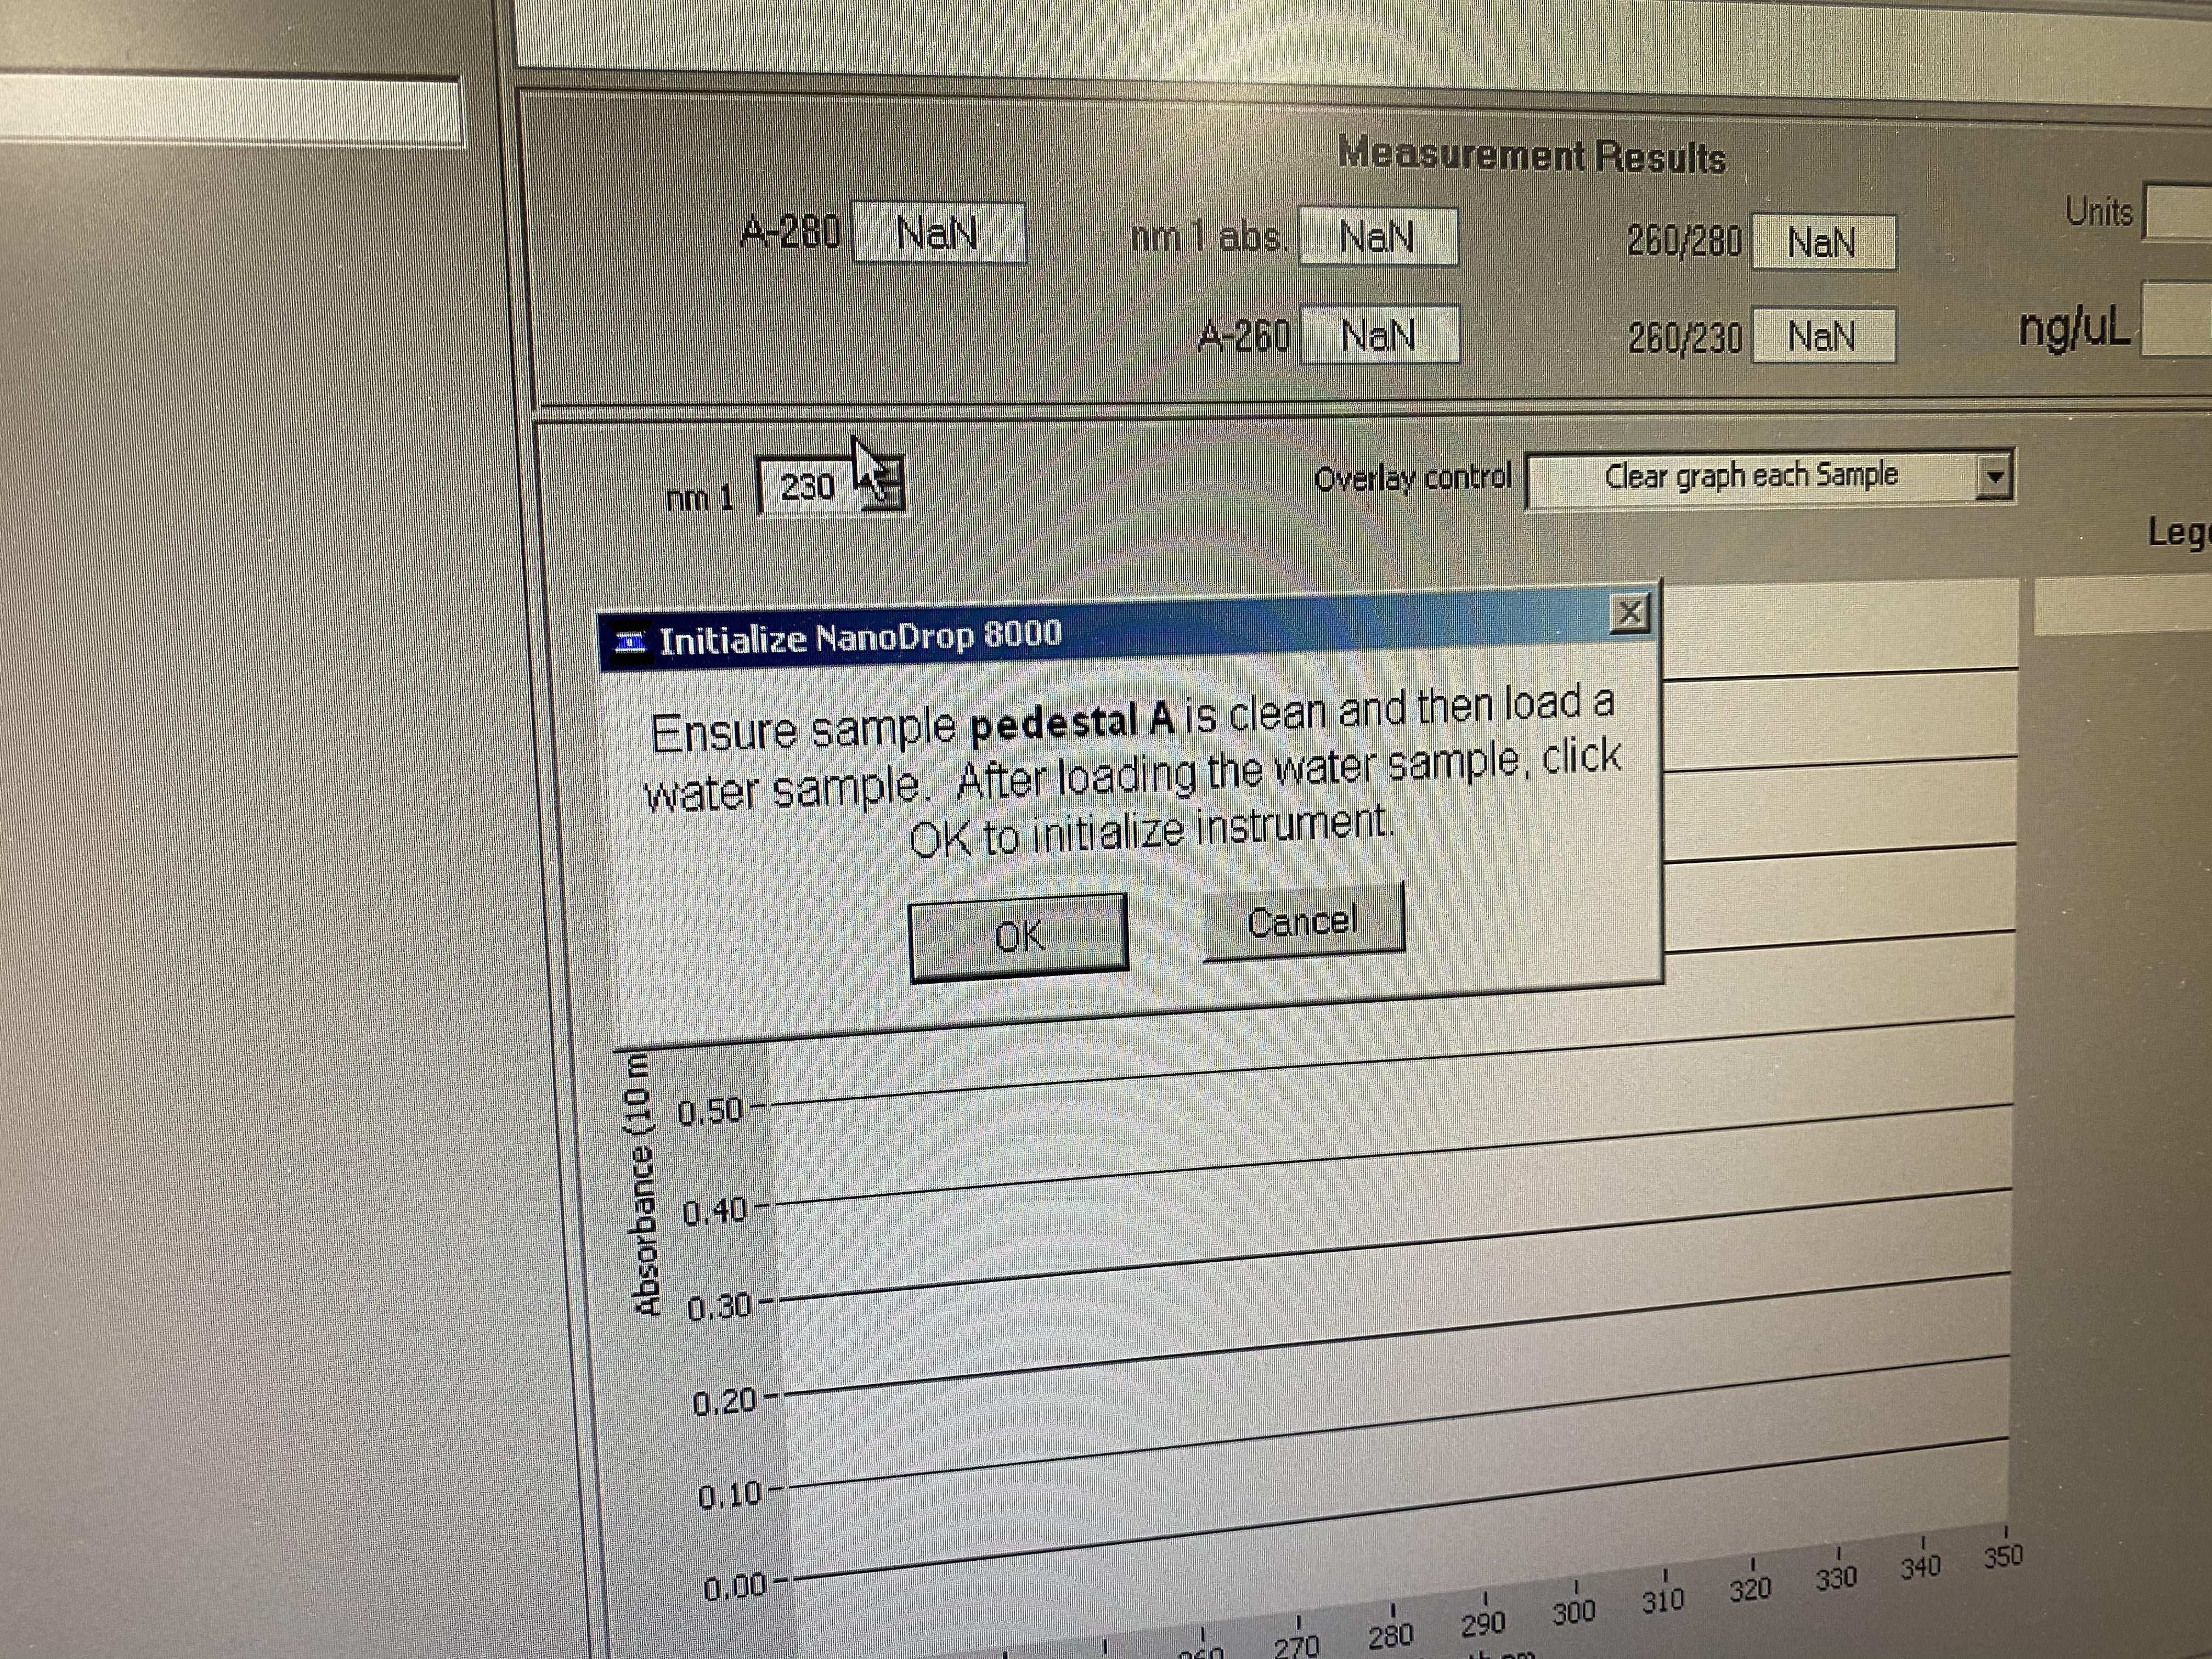
- The program will open up and a pop-up will tell you to add water to the A position for initialization
- Set your p2 to 2ul
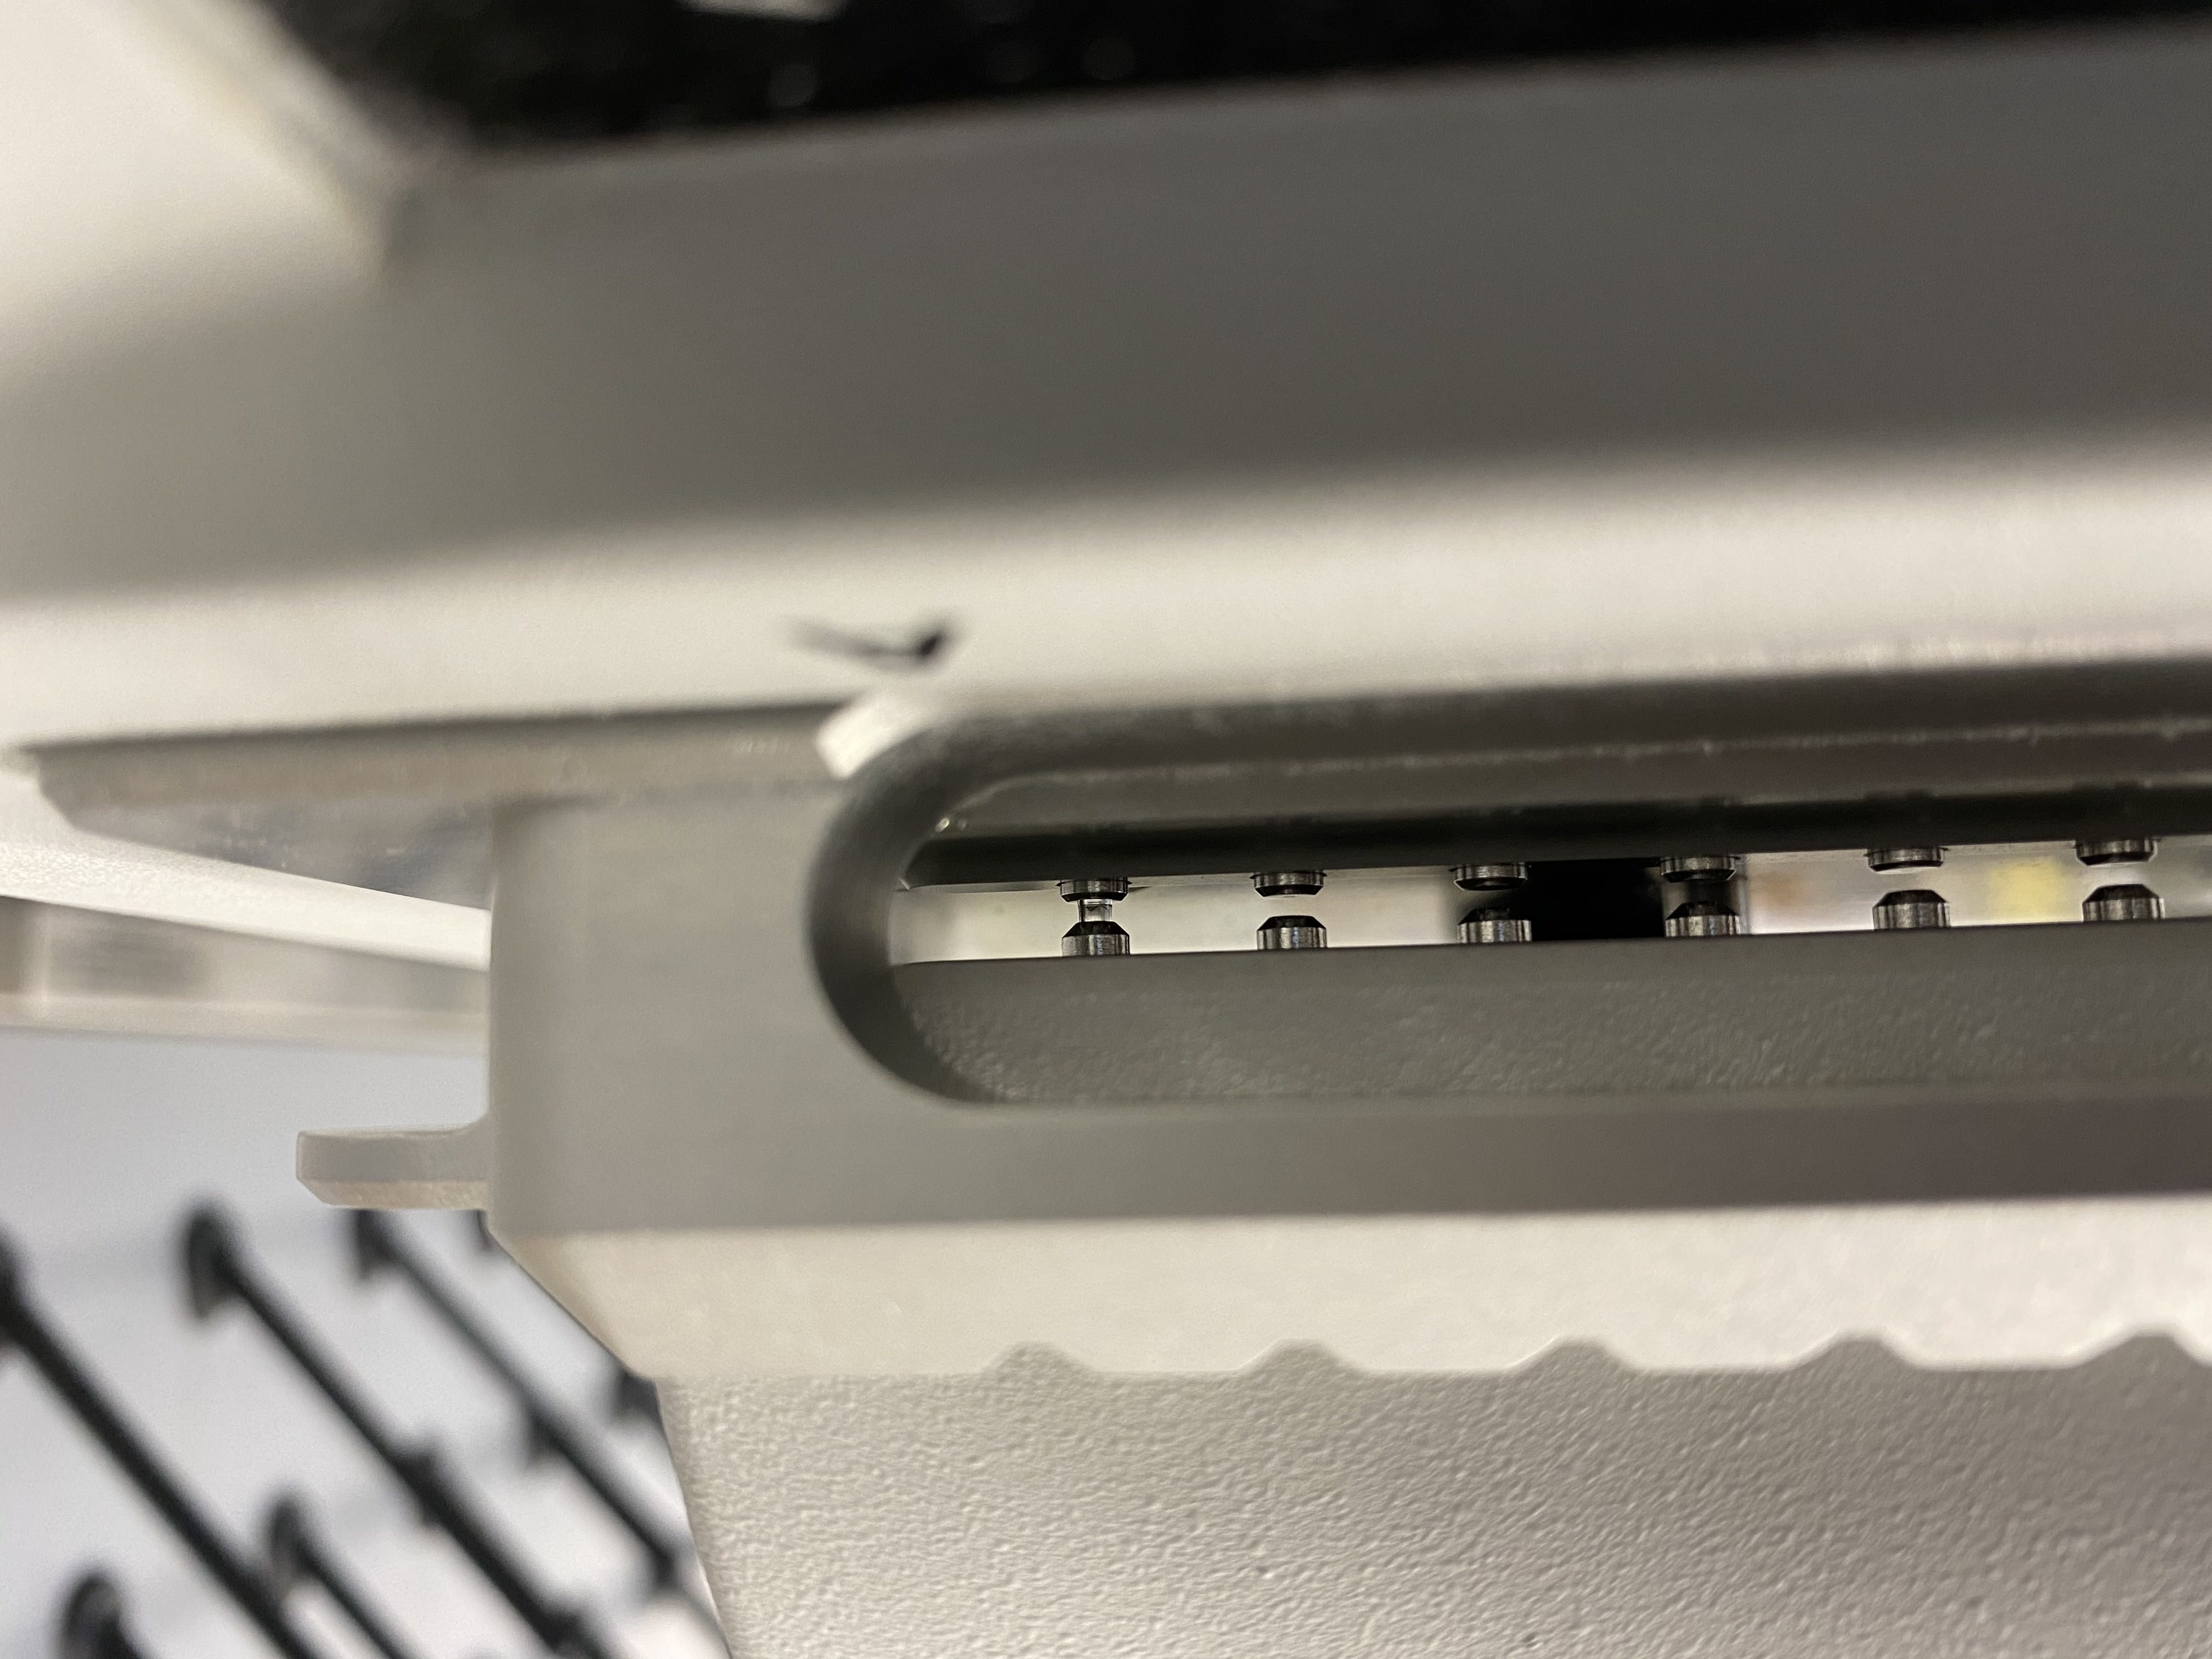
- Open up the lid of the NanoDrop gently, there will be 8 silver metal pedestals underneath the lid, the A position is the top one

- Wipe the A position and the underside of the lid with a dry kimwipe
- Add 2ul of ultrapure water to the metal pedestal A
- Gently lower the lid on top of the pedestals
- Press OK on the software
- When it’s done it will ask you to blank. The blank solution needs to be the same solution your samples are suspended in (usually ultrapure water)
- Go through the same steps as with the initialization
- Open the lid and wipe the pedestal and lid with a kimwipe
- Add 2ul of ultrapure water to the metal pedestal A
- Gently lower the lid on top of the pedestals
- Press OK on the software

- It will ask if you want to input a file for sample names, disregard those
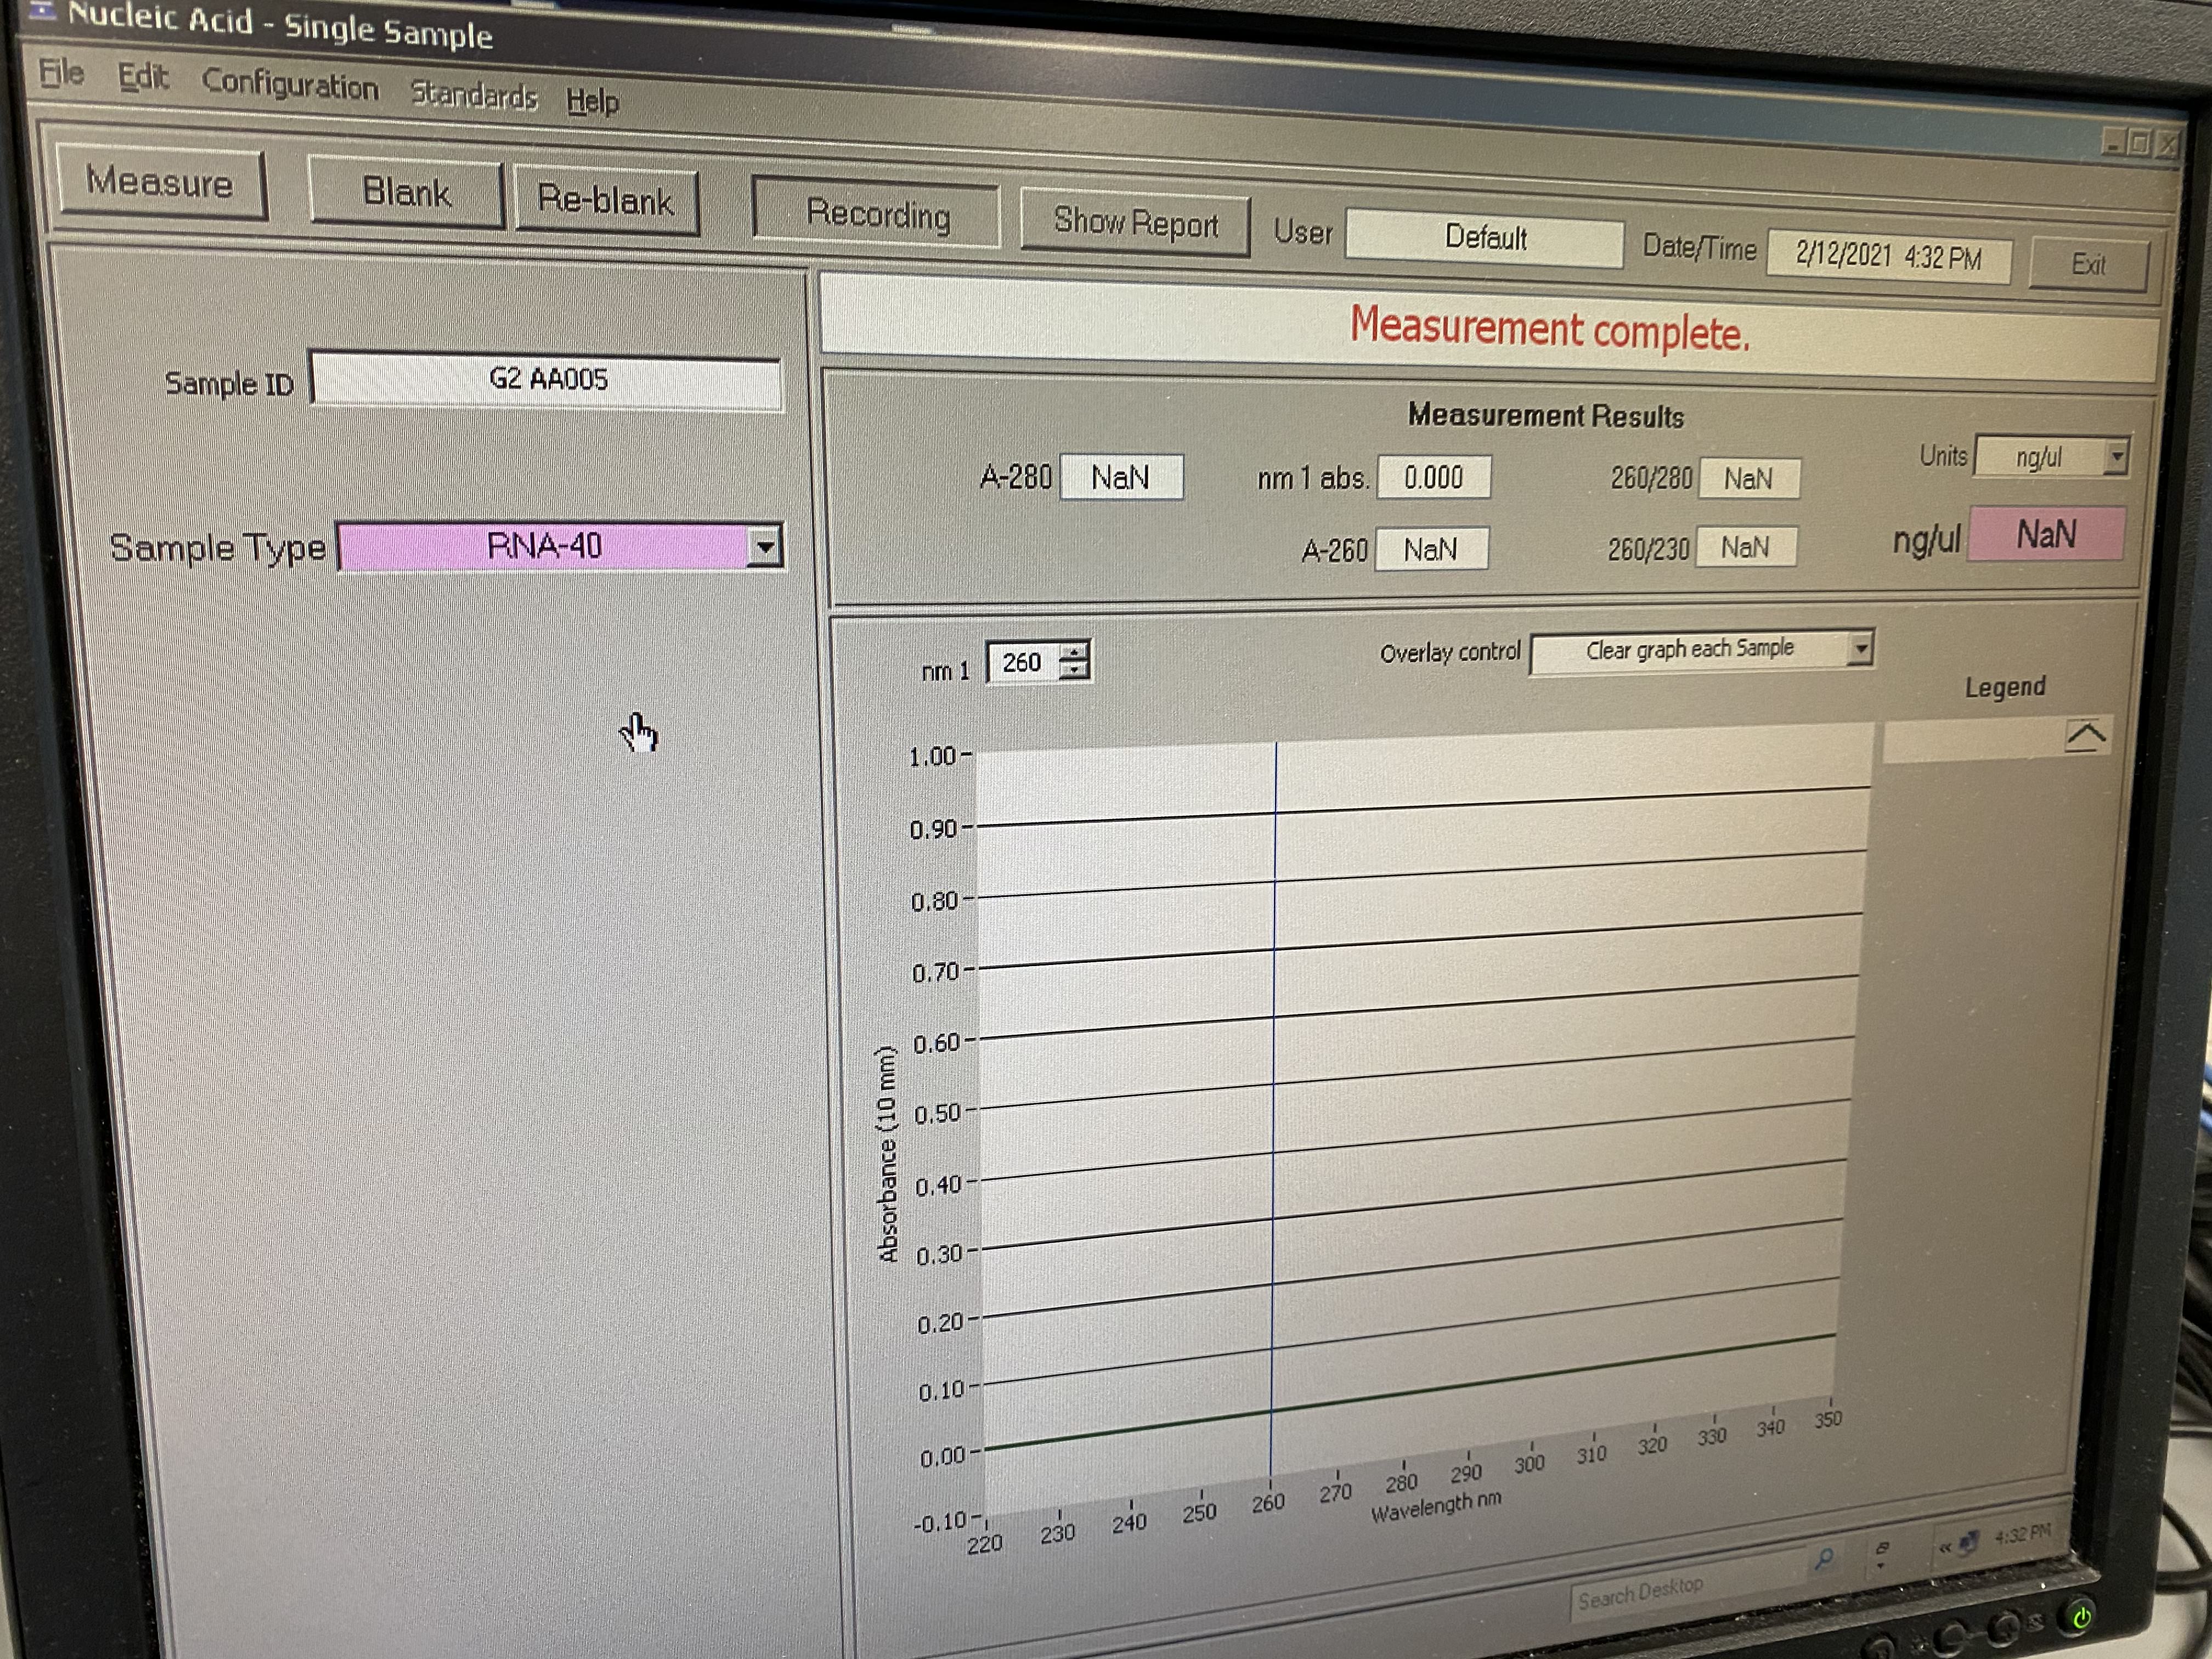
- On this screen, make sure to click on the sample-type drop-down menu and select RNA-40. You input your sample name/ID each time you measure with the box on the upper left. This is important if creating a composite figure of traces
- Open the lid again and wipe with a kimwipe on the pedestal and lid (I usually use a kimwipe 3 times before using a new one)
- Take 2ul of your RNA sample and add to the A position
- Note: you can use 1ul, but 2ul is recommended to make the “column” (see image below), 1ul is such a small volume that it can evaporate a little out in the open like this
- Gently close the lid and click measure on the software
- You can see the lid moving up and down to make a bubble or column of your sample on the pedestal
- It takes less than 30 seconds to read
- It will output values on the boxes above and give you a sample absorbance trace in the graph
- Record in your notebook the 260/280 ratio and the 260/230 ratio
- Change the sample ID to your next sample and repeat cleaning, loading, measuring, and recording
- Repeat for all of your samples
- When you’re done, click Show Report

- When the table pops up, you can go to file and print and it will print to the printer in the 3rd floor copy room
- Click on plots and it will show a composite plot of all the traces, hover your cursor over the legend menu and hit the key on the keyboard that says “print screen” (this is like a screenshot that is copied)
- Click the start button on the lower left corner and click on the paint application
- Use the keyboard to ‘type control v’ to paste the screenshot into the blank doc
- Go to file -> page setup and change the settings to fit to 1 page (1 x 1) and be landscape
- Then go to file -> print and it will also print to the 3rd floor copy room (printer on the left side)
- Close and don’t save the paint application
- Go to the printer and get your printouts before closing the application on the GSC computer. Sometimes it can take a moment to get printed
- Once you have your printouts, exit the program, no need to save
- Clean the NanoDrop again if you haven’t already with a kimwipe
- Fill in your name, PI, date, and if there were any issues on the notebook on the shelf above the computer
- When you write up your results you can take pictures of the printouts (clearer than taking pictures of the screen)
Written on October 2, 2022