
Laser Capture Microdissection of Paxgene-Fixed Cryo-Embedded Tissue Protocol
LCM Protocol for Paxgene-fixed tissues
First step:
- Process tissues as written in the PFCE protocol
This protocol requires two special pieces of equiment not used in my normal tissue sectioning/downstream protocols:
PEN Slides
- We are using 4 µm Frame PEN slides (steel frames, Leica Cat #11600289)
- We ordered these directly from Leica but they are available other places also (example with good picture)
- See notes about different LCM slide options from Leica here and here
LMD7 microscope
Sectioning for LCM
Before sectioning: sample + slide prep (prepare PEN slide with UV and RNAse cleaner)
PEN Slide prep
- Make sure to not damage or touch the membrane in any way
- Using sterilized and RNAse zap-ped forceps, dip slides in RNAse zap for 15 seconds
- Follow this by two 15 second rinses in DEPC (RNAse-free) water
- Let dry, at room temperature or at 37 ºC
- When visibly dry, place in UV box for 30 minutes (ideally do so immediately prior to sectioning)
- With clean, gloved hands, transfer to slide box for sectioning
Tissue + other supplies prep
- 30 minutes before sectioning, move block containing tissue to -20 ºC freezer. Keep in sealed container.
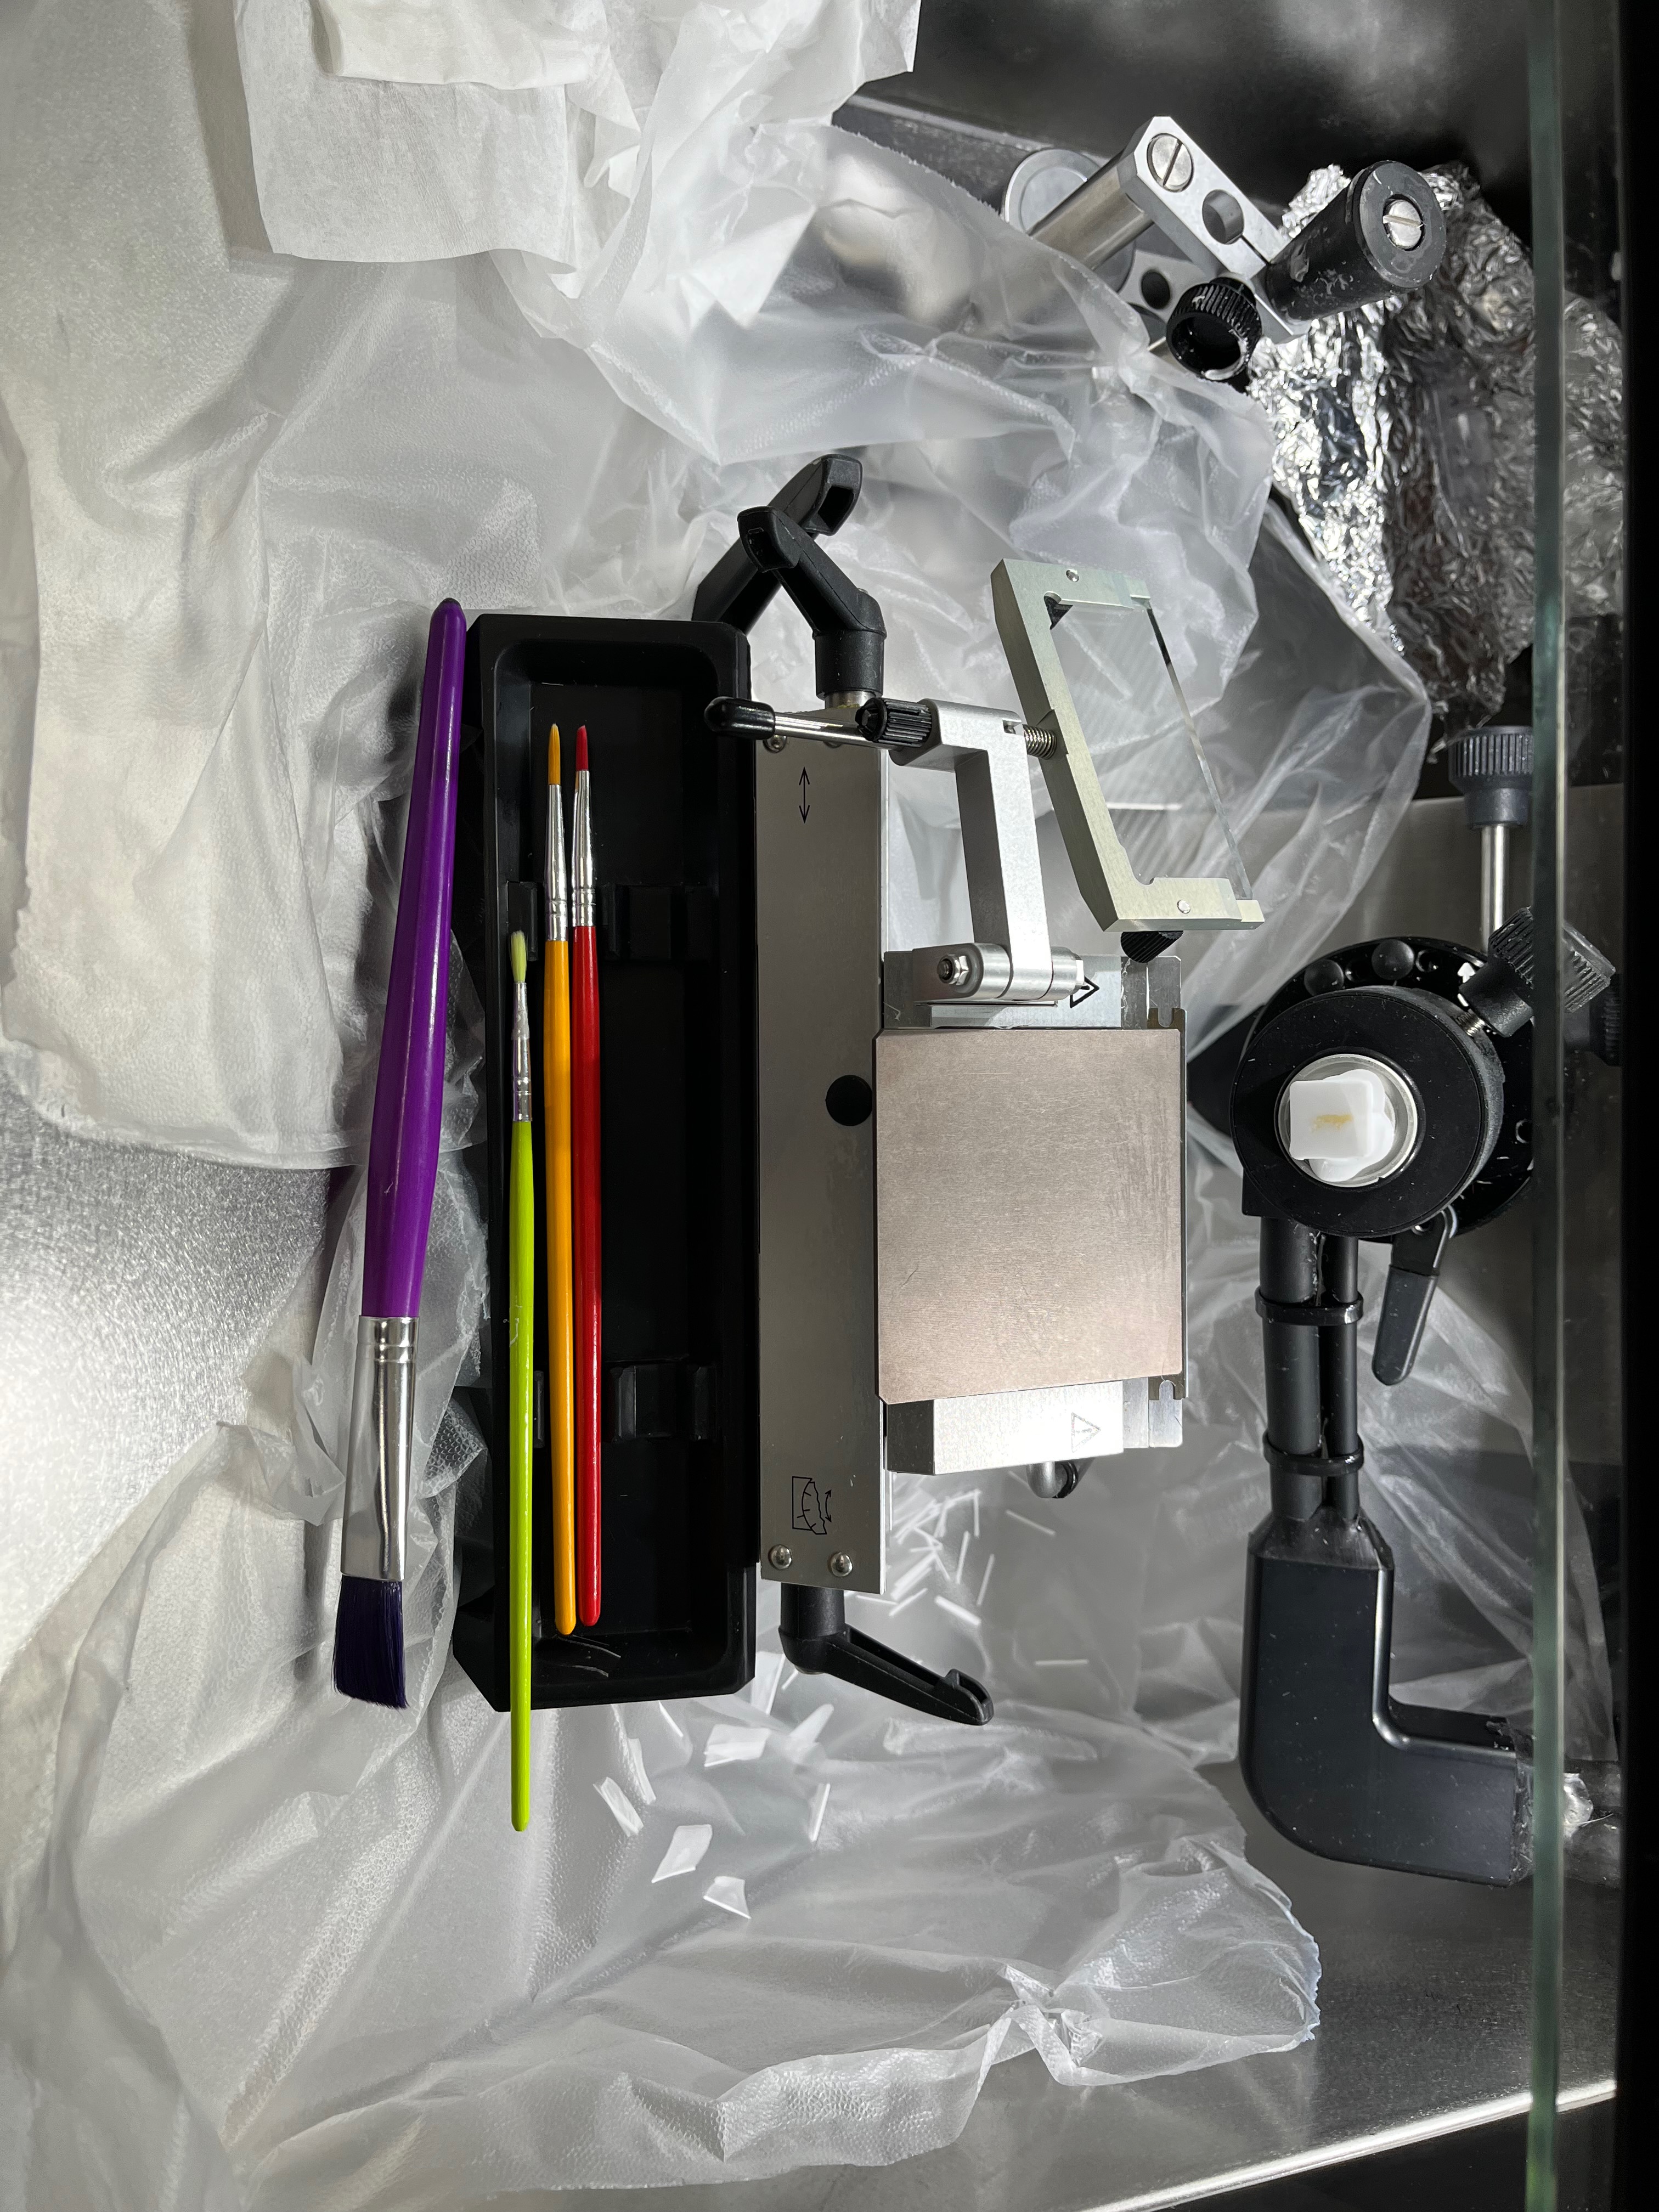
- Also put brushes, forceps, and other supplies that will be used in the cryostat at -20 ºC to speed up equibriation to cryostat temperature when you get there
- brushes
- forceps
- razor blades
- Transport tissue and these supplies to cryostat on dry ice.
Bring to sectioning
- 100% Ethanol
- OCT Embedding Medium
- Microtome blades
- Glass Superfrost Plus slides
- Prepared PEN slides (above)
- Cling wrap
- 70% ethanol and RNAse away for cleaning
- Kimwipes + paper towels
- Forceps
- Sharpie, pen, & pencil
- Paintbrushes
- Razor Blades
- Falcon tubes with silica dessicant pouches
- Slide mailers for staining/storing slides
Sectioning protocol
Section onto PEN membrane slide for LCM as well as extra slides for confocal & H&E morpholgy imaging and backup for RNA and DNA extraction
- Regularly clean gloves and high touch areas of the cryostat (& other supplies) with RNaseZap. Pure RNase Zap will freeze inside the cryostat, so only use the 1:1 RNaseZap/70% ethanol mixture inside there.
- Clean cryostat, microtome blade, and tools with 1:1 RNaseZap/70% ethanol mixture, then 95% ethanol. Wipe dry.
- (ref: Roy et al 2020)

- Cover internal surfaces with clingwrap.
- Place tissue blocks and all tools in cryostat to equilibrate to temperature (~30 mins if they were not yet at -20 ºC).
- Mount sample onto chuck with OCT drop.
- For POR blocks, I have been mounting the blocks perpendicular to the chucks (will add pic)
- Place chuck in holder and tighten screws.
- Insert microtome blade and lock all clamps.
- “Face” tissue using trim setting (~30-50 µm) until you get a clean, flat section across the whole block. Adjust angle as needed.
- Lock wheel when adjusting; stay clear of blade.
- Use brushes to remove unwanted sections and regularly clean any residue from the blade with kimwipes
- If you have a good sense of where the tissue is in the block, trim excess OCT around the tissue with a razor blade to minimize section area.
- Begin sectioning:
- Switch to fresh blade or fresh area of the blade.
- Turn off trim setting; set thickness to 10 µm (thicker sections may reduce rolling issues).
- Important tips:
- Use brushes to keep sections flat.
- Adjust the temperature colder (for crumpling/bunching) or warmer (for ripping/cracking/splintering).
- I have had success with -15 ºC - -24ºC.
- Clean blade regularly.
- Keep brushes and materials inside the cryostat and try to minimize body heat warming them up. If things are sticking too much, the chamber and tools might be too warm. Close the cryostat and let it come back to the right temperature every once and a while.
- Use brushes to keep sections flat.
- Make glass slides for confocal/H&E morphology (do these first):
- First label and make a few glass slides for confocal/H&E morphology visualization
- Pick up sections on slide with rolling motion; warm back of slide to melt section. Refreeze on cryostat plate.
- Transfer slide to falcon tube with dessicant, keep on dry ice until transfer to -80 ºC freezer.
- When confident: Section onto PEN Slide for LCM
- Label slide – be careful with ethanol as it will make the sharpie run
- Keep slide cold in the cryostat, briefly warm sections with finger on back of slide to adhere. Refreeze on cryostat plate.
- Once all sections are adhered, dry the slide at room temp in a sterile petri dish for 1 min
- Then, inside the dry ice cooler, pipette on ice-cold 100% ethanol and let sit 2 minutes
- Remove excess ethanol, gently blotting bottom of slide with kimpwipe but minimizing any lint contamination
- Transfer slide to falcon tube with dessicant, let sit out at room temp in this sealed tube for 15 minutes
- Bury sealed tube in dry ice and keep in dry ice until transfer to -80 ºC freezer.
- Remove block from chuck with razor blade or forceps. Cover exposed tissue with OCT, freeze, and keep in dry ice until transfer to -80 ºC.
- Remove clingwrap, clean cryostat with 70% ethanol, dispose of blades in sharps bin.
Staining
In lab: Staining Procedure (modified/combined from here and here to reduce exposure to aqueous solutions of lower than 70% ethanol to reduce RNAses) (ALSO)
Solutions to prepare and chill on ice before staining (ALL SOLUTIONS ICE COLD):
- Cresyl violet staining solution (in 100% ethanol)
- 70% ethanol
- 100% ethanol
- RNAse-free water
Procedure:
- Morning of LCM: Bring slide up to room temperature, slowly to avoid formation of water condensation inside the container. Did the following:
- 30 minutes at -20 ºC
- 30 minutes at 4°C
- 15 minutes at room temp
- Place slide on petri dish; on tube rack over dry ice (not immediately on the dry ice otherwise the 70% ethanol can freeze)
- Apply Cresyl violet staining solution (in 100% ethanol) directly with syringe and sterile filter to the section and incubate for 1 minute, swivel gently
- Rinse off stain by (pipetting) with ice-cold 70% ethanol
- And then place back on clean petri dish and cover slide with ice-cold 70% ethanol
- (ideally the ethanol just stays on the slide but if it rolls off then gently submerge the slide in 70% ethanol)
- Ideally this removes all the OCT. And hopefully no tissue.
- Be as gentle as possible and keep everything as cold as possible
- If any OCT remains, rinse or gently submerge slide in ice-cold RNAse-free water
- make sure this is not directly over dry ice but elevated, it will freeze if not
- Then submerge in or cover slide with ice-cold 100% ethanol for 1 minute to fully dry tissue and remove any excess water
- Air dry sample 1-2 in drying chamber with desiccant (or falcon tube with silica) or fume hood
- Proceed to LCM now, transport slide in falcon tube with silica packet
LCM
Bring to LCM
- Benchtop mini centrifuge
- Benctop mini vortex
- Lab notebook
- 70% ethanol and RNAse away for cleaning
- Kimwipes + paper towels
- Gloves
- p200 + tips
- Dry ice for tubes (& slides when done dissecting)
- PCR tube racks (or empty tip boxes)
- (Keep one rack with clean closed tubes at RT and one in the dry ice cooler)
- RNAse free 0.2 mL PCR tubes
- Digestion buffer:
- Zymo 2X Digestion Buffer (95 µL) + RNAse-free water (95 µL) + Proteinase K (10 µL, 20 mg/mL stock = 1 mg/mL final).
- Need 40 uL per tube, make enough for the amount of tubes you need (200 uL above is enough for 5 tubes)
- LCM slides prepared above
Protocol
How to use Leica LMD7000 presentation
- Clean working space and all scope parts (slide holder, sample collectors, computer mouse, focus/stage knobs) with 70% ethanol and RNAse cleaner using damp Kimwipes.
- Do not spray anything onto the equipment.
- Load slide onto slide holder (thick part with label goes towards the spring holder)
- Slide should be loaded right-side up, with tissue on the bottom
- Label 4 PCR tubes and put in the collector
- Fill caps of each tube with 40 µL digestion buffer. Record order in lab notebook.
- Note order carefully and know which tube is A, B, C, & D on the LCM
- Load collector onto scope
- In the LasX software, open two windows: Laser control, microscope control
- Take overview image of slide at 5X magnification
- Change magnification to 20X for dissection
- Set laser settings
- power = 25 μJ, speed = 10, pulse frequency = 500 Hz, brightfield illumination
- Test dissection in an area of the membrane without tissue to make sure laser is working
- In notebook, assign tissue type 1 (e.g. oral epidermis) to one tube and tissue type 2 (e.g. aboral epidermis) to another tube per coral fragment
- For each dissection
- Select the correct tube in the bottom left
- Draw the ROI containing the tissue you want to dissect
- make sure to leave some space between the line and the target tissue border to account for the laser width
- Double check the color of the ROI matches the tube color for that tissue type
- Before dissecting, enable scale bar & take image with ROI visible (SAVE + L), and rename image file with tube # and dissection #
- Hit GO! And hopefully the area is dissected as planned and the membrane + tissue fall out of view
- Take another image post-dissection with ROI visible (SAVE + L), and rename image file with tube # and dissection # (“POST”)
- Switch to collector view to inspect cap for dissected tissue
- If the dissection was successful, record ROI area (µm²) in lab notebook for each dissection
- We will later measure dissected tissue areas from these images in FIJI.
- If the dissection was not successful, you can use the laser to re-cut any membrane that is still hanging on, or if the tissue got destroyed somehow or very burnt by the laser, just move on and note that this dissection was not successful
- You can draw multiple ROIs for different tubes in one view, just make sure to switch tubes between ROIs. And when going from one view/dissection to the next, always confirm the tube selected for collection before dissecting.
- Work quickly; once a section is done, carefully remove tubes and immediately close caps
- Remove the tubes with the dissections VERY CAREFULLY, closing the cap as you remove it.
- Post-collection: Spin down tube, vortex 5-10 s, spin down 30 s minimum, then place in tube rack on dry ice.
- After slide is done, place back in falcon tube with desiccant and transport on dry ice to -80°C storage.
Downstream:
Helpful vidoes and references
Written on April 25, 2026