PPP Lab Agarose Gel Protocol
This protocol was written by Maggie Schedl for the Putnam, Prada, and Puritz labs
- For small gel box, make a 75mL gel mix, for the medium box make a 100mL mix.
-
Making gels:
For a 1% gel:
- small box: 75mL new 1X TAE buffer and .75g agarose
- med box: 100mL new 1X TAE buffer and 1g agarose
For a 1.5% gel:
- small box: 75mL new 1X TAE buffer and 1.12g agarose
- med box: 100mL new 1X TAE buffer and 1.5g agarose
- Use a weigh boat to measure agarose and using the Erlenmeyer flask from the gel bench to measure the TAE
- Mix in an Erlenmeyer flask, add the agarose by taco-ing the weigh boat and carefully pouring the powder as to not get it stuck to the side of the flask. Pour up to your desired volume with new 1X TAE
- Put a scrunched Kimwipe in the mouth of the flask and put in the microwave for 1 minute. Every 20 seconds open microwave and swirl flask. Use glove because glass gets hot and don’t be afraid to check too often because it can boil over
- Microwaving time can vary, so keep adding time until when you look at the liquid when swirling it is completely clear and there are no “flakes”
- Add 5μl GelRed or 1μl GelGreen to the liquid and swirl the flask to mix thoroughly.
- Set up gel cast mold, place small tray in the gel box sideways and make sure there is an air-tight seal with the rubber noodles
- Let gel cool up to 5 minutes in the flask before pouring into the gel tray, if you can safely hold it, that’s a good sign it’s ready
- Put desired comb size into the tray
- Using a pipette tip, move any bubbles to the side of the tray
- Let harden until opaque and cool ~30min
- Take out and orient the gel with the comb side to the top of the box. Take the comb out of the hardened gel
- Pour enough “used” TAE buffer into the gel box to cover the gel with a thin layer of liquid and make sure there are no dimples where the wells are
- In a new strip tube, make 5μl aliquots of your DNA samples. Add 1μl of loading dye to each sample and vortex and spin down to mix
- Add 3-4μl of the appropriate ladder to the first well in the gel
- Add your samples to each well: ~6μl. Make sure you have made a map in your notebook that shows the order of samples
- Make sure gel is set up to “run towards red”
- Plug black cable into black insert and red cable into red insert of the gel box
- Turn box on and make sure voltage is set to 80-100V. Set time for 45-60min
- Once done, take the tray out of the boxy and using a Kimwipe, slide the gel into your hands. Bring over to the imaging plate and set in the center of the blue square
- Place the orange shield over the gel
- Take a cardboard box with a hole cut in it and put it over the light imager
- Turn on the imager and using your phone take a picture of the gel through the box, turning off the lab lights helps
- Slide the gel off when you are done and place it in the large plastic jar in the SAA for gel waste
- Pour the leftover TAE from the gel box into the used TAE container using a funnel kept in the drawer
- Rinse the gel box, comb, and flask in DI type II water
-
Wipe the imager with a Kimwipe and DI type II water
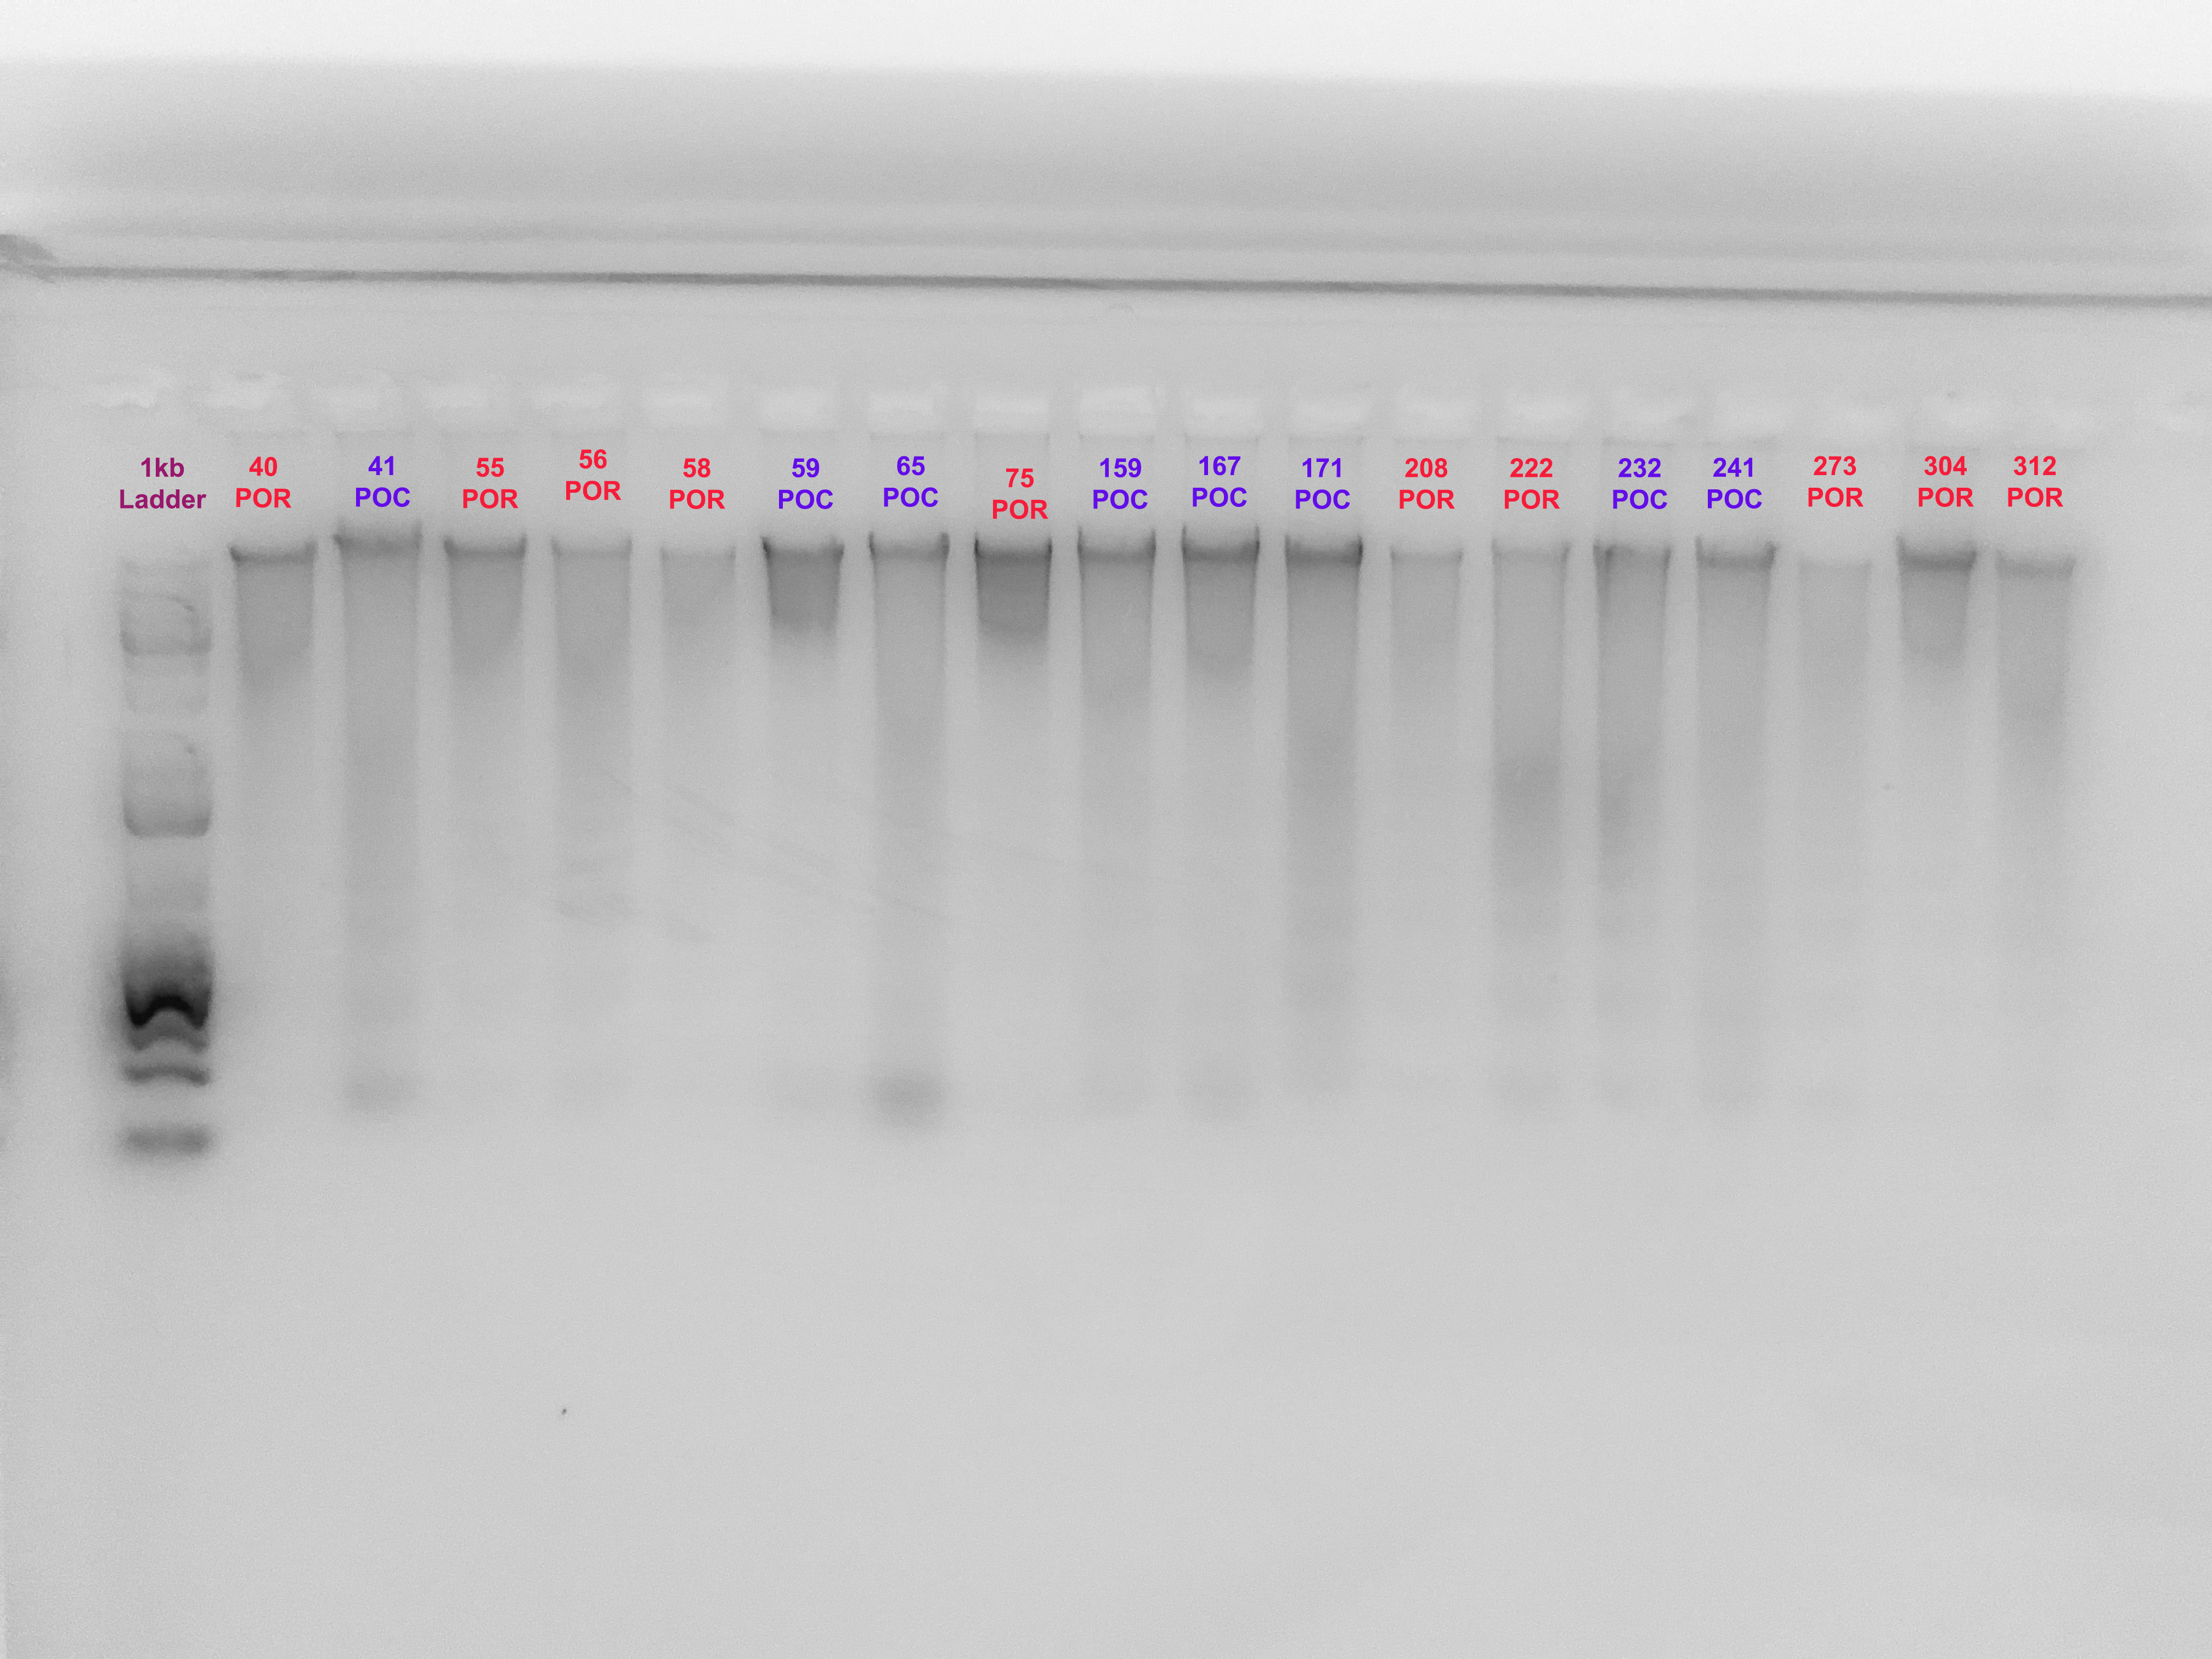
- An extra step can be to annotate your gel image ex:
This can easily be done in something as simple as google slides
Written on October 2, 2022
